Online

Moving on

This week I took the rather drastic step of stepping away from my Twitter account of over 10 years and starting afresh. A drastic action certainly but it wasn’t an impulsive one. Rather it came about by a gradual process of realising that I wasn’t happy with something, and then setting about the process of working out how I could rectify it.

In doing so I came across this article by Tim Denning which perfectly summed up my attitude to Twitter and encapsulated my feelings emboddied in that tiny blue bird logo.

Over the years, off and on I have spent a lot of time on Twitter and have certainly made some great friends there. Friends that I would really miss if I were to leave the platform completely. However, of late I had found myself needing to take more breaks from the app, and of longer duration as it was really starting to affect my mental health. Partly that was due to my actions - I had followed a lot of news and politically active accounts all of whom were equally outraged at world events as I was. The problem of course was that I was struggling to process my own emotions during the past few years, and adding in other peoples anger and outrage wasn’t really helping. In addition the Twitter algorithm as we know is geared up to keep you on the app as much as possible - and outrage keeps you there a lot longer than cute photos of otters - so that’s what it shows you.

I recently took an unplanned break from Twitter which extended into a week as I found myself increasingly reluctant to log in, even though I missed catching up with pals. The answer was obvious - if something isn’t serving you or doing you good - stop it or do it differently.

For me that meant creating a new account, and setting it up with care and intention. Following those people that I wanted to keep in touch with and creating lists so that I can do that effectively without having to rely on the chaotic main feed. You can find my new account here if you want to see what I’ve been up to. My old one I’ll keep up for a little while before archiving it.

The whole process has got me thinking about other things that have changed or I have moved away from over the past few years. I ditched my Facebook group of over 20k members in favour of a much smaller but much easier to manage Mighty Networks community, and in 2020 I moved away from Ravelry. Something that previously I would have thought was unthinkable and would spell certain death for my business.

In fact, nothing drastic happened at all. I’m still carrying on writing and selling patterns, still connecting with the knitting community and friends around me. I’m just doing it on terms that serve me better. The world didn’t end just because I ditched Ravelry.

And at the end of the day I think that’s what it’s all about, and it’s taken the chaos and upheaval of the last 2 years to show me that. It’s OK to evaluate what’s going on in your life and what helps - or hinders you. And it’s OK to discard perceived wisdom or advice in favour of what suits you.

How we spend our days, is after all, how we spend our lives. And for me, that means spending my precious minutes on things that make me feel good for hours.

Apologies for absence

I'm seeing a lot of posts over on Instagram and Facebook recently which, much like any formal British meeting, start with "Apologies for Absence". I know that I have certainly been guilty of this in the past and this was indeed the starting sentence to this draft - when I noticed that my last post was nearly 2 weeks ago.

Real life is just that, it can be messy, busy and for a lot of the time, pretty unphotogenic and yet we put this pressure on ourselves and feel bad when somehow things slip and we miss a few days/weeks posting.

I've had conversations with a few fellow Instagramers recently where they have taken a few days off and actually been contacted by followers asking why they hadn't posted. Seriously? Don't get me wrong - we all check in with people from time to time and that natural concern is a brilliant part of the online community we inhabit. But one person actually said words to the effect that "if you can't be bothered to post, I'll unfollow you".

Let's be honest, no one pays to use these sites - whether they are consuming content or creating it. No one has a right to expect a post from you - you share when you want to share. And not before.

If you are busy making memories with the family, if you are busy with work/life or frankly just not in the mood there's no pressure at all to show up and do something you don't want to do.

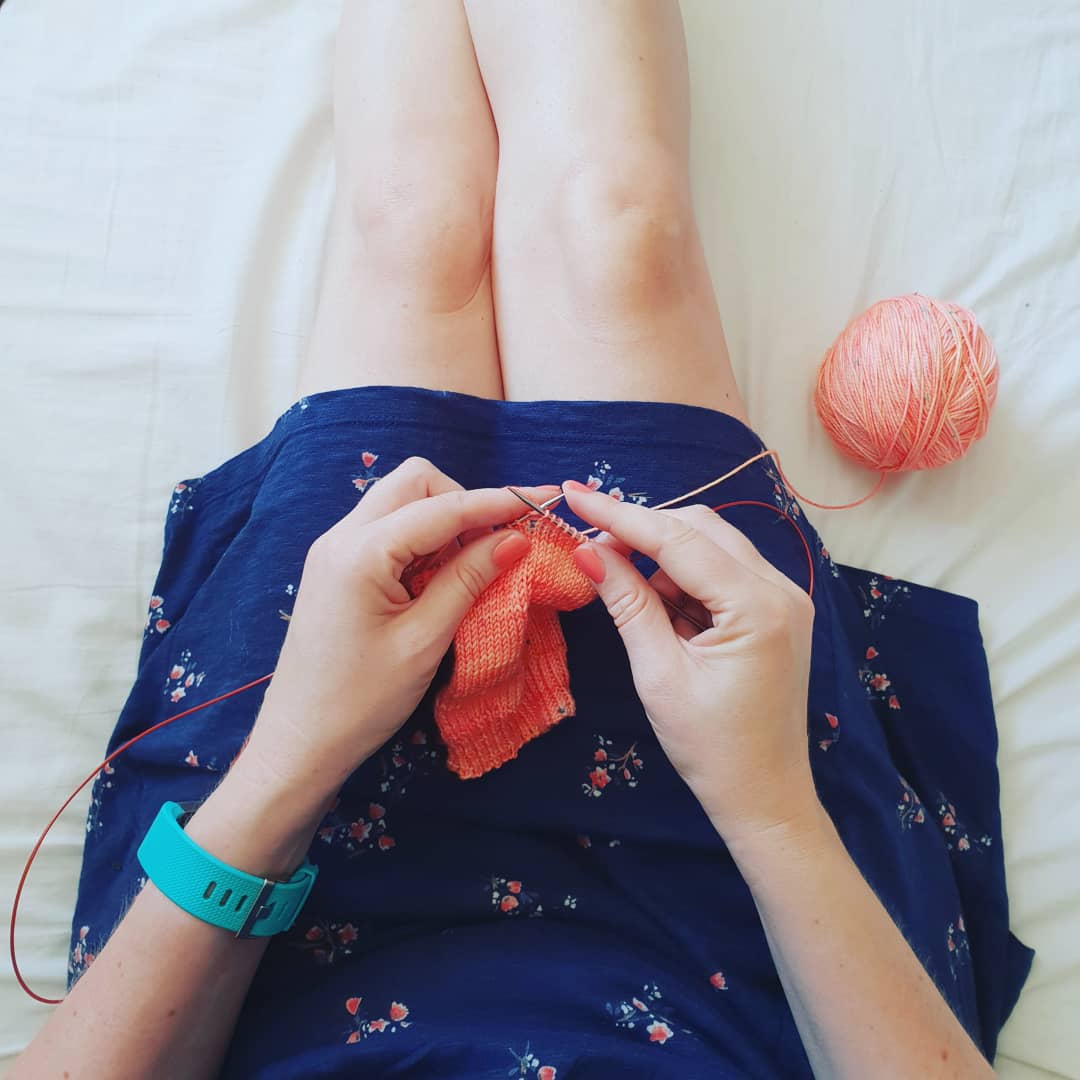
Sorry - rant over now. I think I'll just sit down and knit with my coffee for a bit and knit on this sock. And yes - if you are wondering I totally did match my nails to my knitting. Sometimes it's the little things that make me happy

Instagram likes are your currency - spend them wisely

A great idea came to me late last night, as all the best ideas do. I’d been speaking to my boys about pocket money and the importance of spending it on things that are important to you and then as I was scrolling through Instagram later on I found myself thinking of the system of ‘likes’ and how we use them.

I know we all like to think of Instagram as a non-commercial platform, even though we know that deep down that we are either there to sell or to be sold to. But the sense of community and of belonging in some part at least, overrides this and keeps us going back day after day.

More than anything we crave connections to fellow humans and crafters and Instagram gives us that ability to connect, to chat and to build real meaningful relationships both online and in person.

The way we do that and the way that our social currency works is through the system of ‘likes’. In a way, ‘likes’ are the currency of Instagram and they are what keeps the whole system oiled and moving.

We judge how good a particular photo is based on the number of likes (I know we shouldn’t, but we do). In a way the number of ‘likes’ tells how good/useful/important something is in the same way that we perceive a more expensive lipstick to be somehow better quality than something we paid £2 for.

This is one of the things which has really riled me about the recent wave of spam IG accounts. These automated accounts run by bots are nothing more than machines built to gather likes. They don’t add or create anything but they harvest carefully selected, popular images in order to induce people to hit that ‘like’ button. And of course, people do hit the ‘like’ button - as that’s what made the images popular in the first place. It’s a carefully calculated and manipulated strategy designed to build the ‘worth’ of spam accounts. The more people that they can persuade to ‘hit like’ then the more their account is seen and then ultimately they can sell off that account to a business and make money from it.

As these spam accounts get ever more sophisticated it can be hard to spot them from genuine ones, especially now with the recent trend of using actual people’s names. But reporting and blocking remains the way forward. Ultimately if few people engage with the posts then these accounts will simply be seen less and they will drop further down the grid that Instagram choses to show you.

It’s easy to feel overwhelmed in the face of the relentless proliferation of these accounts but small things really can and do make a difference. Choose where you spend your ‘likes’ wisely and let’s help add value to the real, hardworking crafters of Instagram.

PIN FOR LATER

How to spot a fake Instagram account

It’s a strange thing and I don’t pretend to understand the reasons for it but spam IG accounts seem to have become a bit of a thing recently, especially on some of the main knitting hashtags. Many of them appear to be particularly random, reposting content from a variety of accounts either with or without credit.

I am reliably informed by people working within the IT industry that many of these fake accounts are randomly generated - so called “bots” - which automatically skim content from various hashtags and repost them. I guess there is some reassurance in the fact that even though the use of your images may feel deeply personal and shocking, there is no malice or ill wish behind having your images used in this way.

[Please note that here I make a distinction between these bot accounts and the malicious copying/hacking of certain accounts. The latter is fortunately much less frequent but it is targeted and motivated by a desire to harm or someone damage someone's online reputation]

It doesn’t stop these fake accounts being annoying though and if nothing else it does effectively “dilute” the quality content on the hashtags which are affected - by having the same few images be reposted again and again.

One thing I have noticed is that they are increasingly hard to identify at first glance and look like they could be real accounts, especially now they seem to have moved away from the very generic @knitting_insta_loves to much more plausible sounding names which could well be real people.

I often mention in my IG Stories about accounts that I have reported and blocked and people often ask how you can tell. How do you spot a fake IG account?

Although I am by no means an expert I do spend a lot of (read: too much) time on Instagram and I have found that the following things generally set my alarm bells going:

Content is not consistent from frame to frame: Most knitters and crafters show progress on their crafty endeavours or the same types of images/props/items crop up in repeated photos scattered throughout the feed. It’s just human nature. We tend to share what we like and often those images are broadly similar. Spam accounts rarely show the same project twice and may vary widely in content.

Spam accounts harvest images from a variety of accounts often lifting the entire caption too. If an account has posts with text in a variety of languages, or is promoting an Easter discount in June then you can be fairly certain that it isn’t genuine.

Under the caption there is often a generic comment such as “tap to like” “do you agree” “tag a friend” which is out of context with the caption. In some cases there is a credit given to the original account but from experience I can tell you that this doesn’t always notify the original image owner. I’ve had accounts use my images with an apparent credit to @louisetilbrookdesigns but no notification has ever reached me.

Once you start looking for such accounts you’ll probably realised that they are much more ubiquitous than you thought. Often they are the same unfortunate images which crop up time and again.

Happily there is something you can do about it though. If it’s your image which has been reposted without consent you can click on the three dots (top right of the image) and select the option to report for copyright infringement. Top tip: it’s best to do this from a laptop/PC rather than a mobile device. You will be asked to provide links to your original content to prove that the image is yours.

If the fake account hasn’t used your images but you would like to block them and/or report them as spam, you can click on the same three dots to do that too. It might seem as though such actions are a drop in the ocean of a sea of fake accounts but Instagram really does take action and the more accounts we flag up to them as spam the more they can help keep our IG feed spam-free.


How to knit from a sock blank

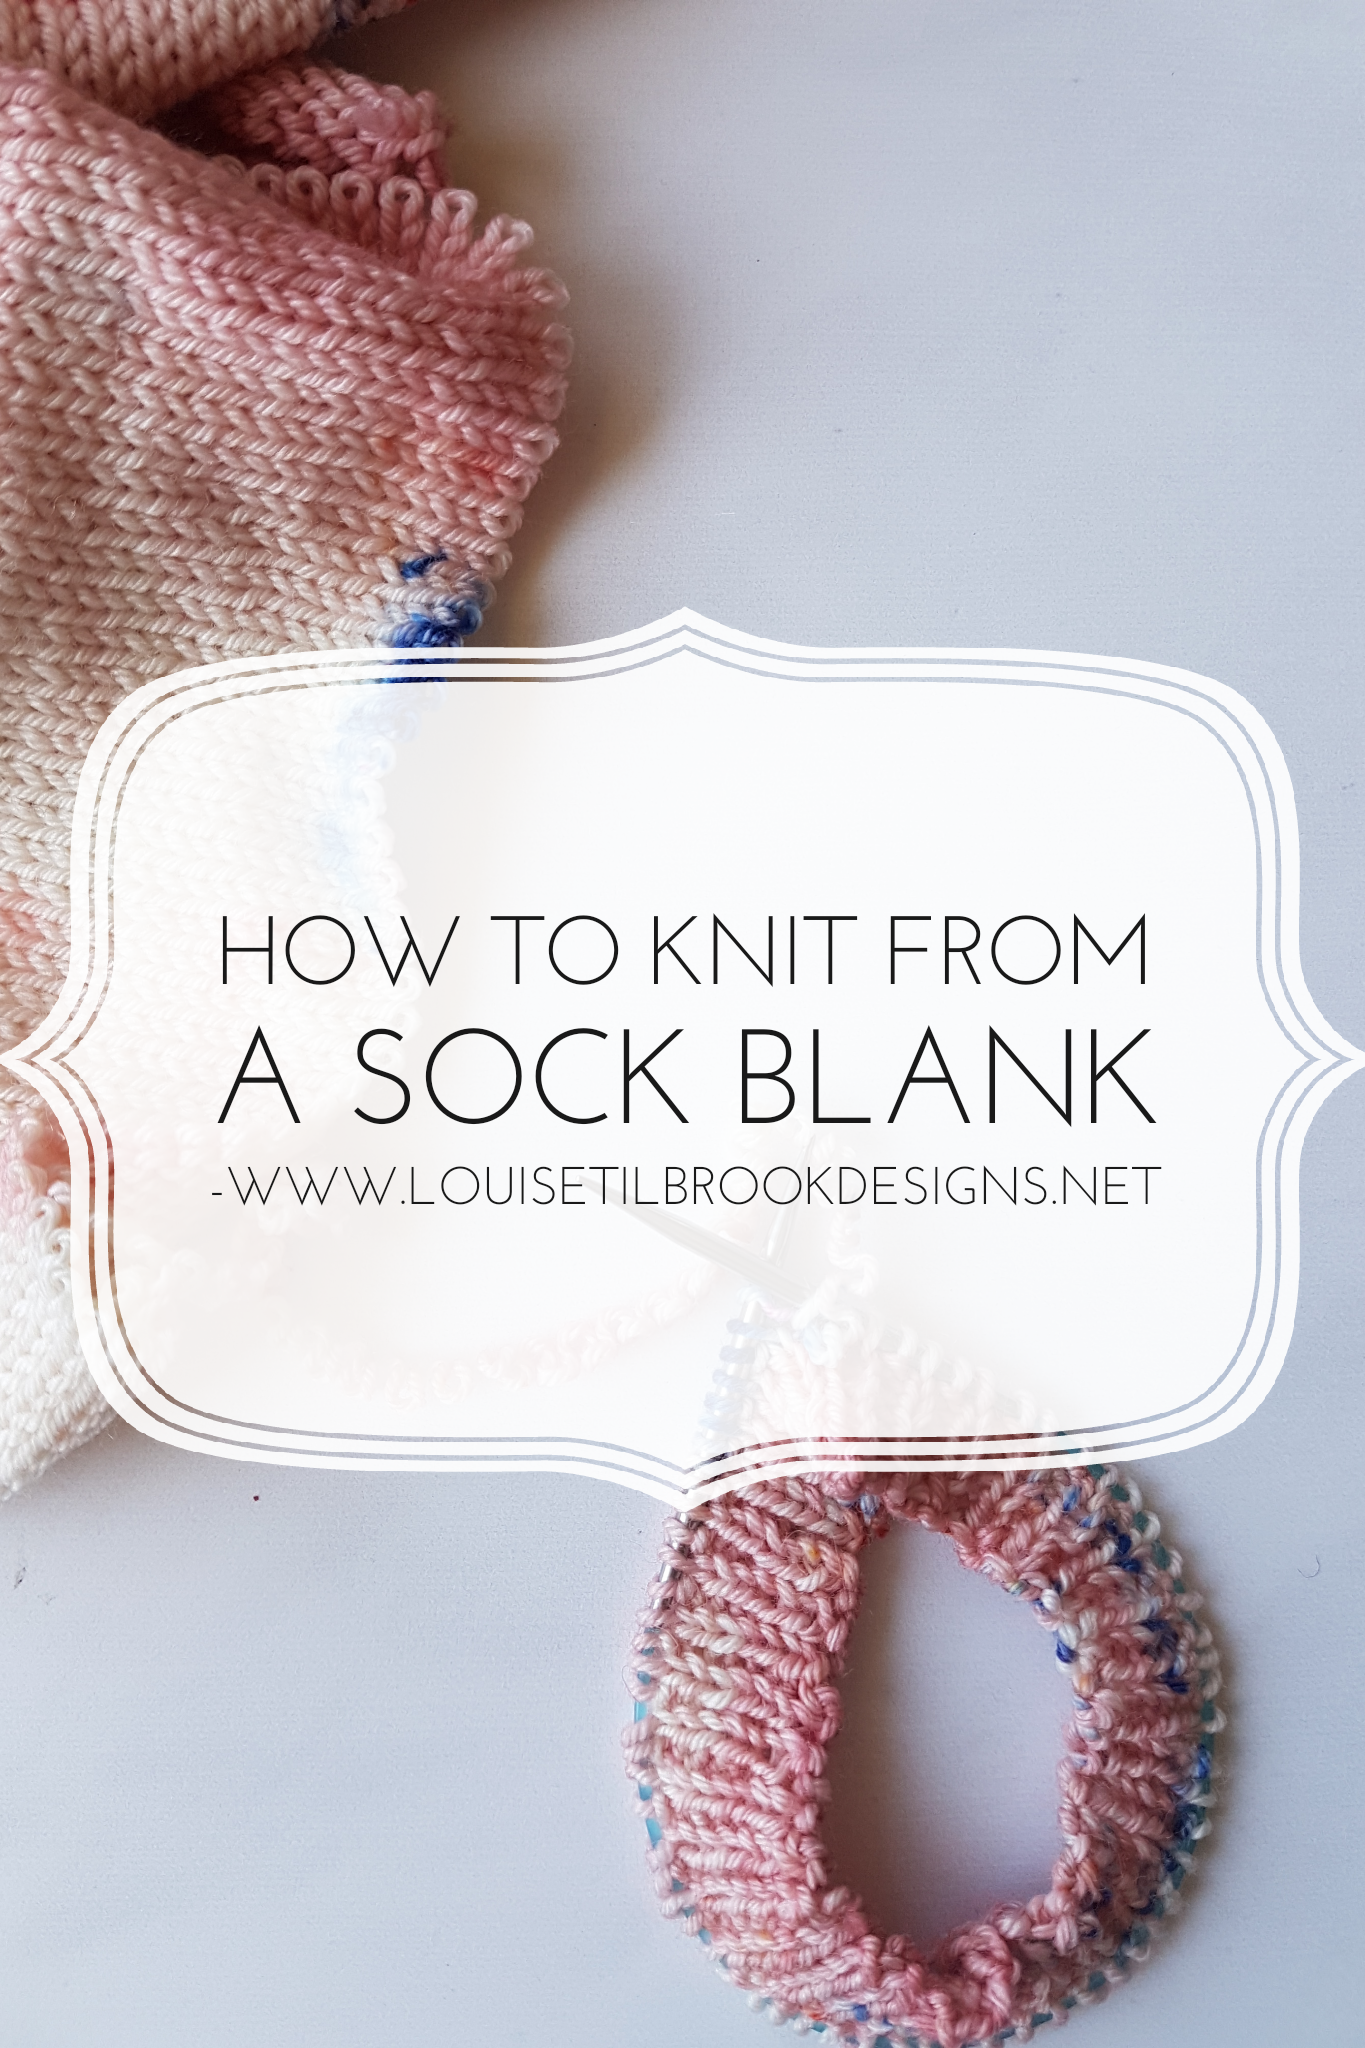
What on earth is a sock blank I hear you ask? Simply put, it is a machine knitted flat piece of fabric which you then unravel and knit with. It really is that straightforward. Rather than knitting from a ball or skein or yarn you unravel the yarn as you go and knit with it.

This always baffles my husband. "So you are taking a piece of knitting, and turning it back into knitting?" was his puzzled query when I showed him what I was doing. "Why on earth would you do that?". But he has been around knitters long enough to know not to argue and to accept that we are ingenious souls who come up with all manner of intriguing solutions.

By applying the dye to a flat piece of knitted fabric rather than the actual strands of yarn themselves, dyers can produce a fabulous range of colours and effects that would be very hard to achieve otherwise. A gradient-dyed yarn is much more straightforward to produce from dyeing a sock blank than it is to apply a gradient to a continuous 400m length of yarn, for example. Hand dyers can really go to town and have fun with the dye pots and then, as knitters, we get the inestimable joy of knitting with it, straight from the fabric. There is no winding or caking needed. 

The first thing to is to unroll the fat sausage-like sock blank and check if it is a double layer of fabric or a single layer. If it is a double layer it means that you can knit two socks at the same time (should you want to - don't worry - it isn't compulsory). If it is a single layer you will need to knit one sock at a time. Please don't try to unravel from both ends of a single layer - that way madness lies. The sock blank has a right end to pull the yarn from and a wrong end - it will quickly become apparent when you give an experimental tug and unravel a metre or two.

If you do have a double stranded sock blank and you want to knit with just one strand at once you will need to come up with a solution for dealing with the other strand as you work. Either wind each strand off separately into 2 balls before you start or wind the other yarn around a bobbin (or similar) as you work. If you aren't sure, check with the dyer before buying to make sure you get a sock blank that will work for the project you have in mind.

And that's really all there is to it. Unravel the yarn for a metre or so and cast on. The yarn will have the characteristic "kinky" appearance that you get from unravelled yarn and to be honest it can take a bit of getting used to, but the fun you will have from watching the colours play before your eyes will more than make up for it.

Do I need to reskein and soak the yarn to remove the kinks?

This is a matter of personal preference. For me, I'm quite happy to knit as it is but if you know that this would drive you mad then by all means then you can wind the yarn into a skein, soak, dry and then rewind. The only time that I have done this with a sock blank is when I was knitting from a beautiful single layer of rainbow gradient yarn for my Fuss Free Festival Shawl. Because I was knitting at quite a loose gauge (on 4mm needles) the kinkiness gave an unevenness to the garter stitch fabric that I didn't really care for and it didn't fully go away after blocking. Normally when you are knitting socks, the much tighter gauge used tends to eliminate this problem and any slight unevenness in the fabric is normally undetectable after the socks have been washed and worn.

Have I tempted you? If you do decide to go ahead and try a sock blank do let me know.

PIN FOR LATER

How to knit an afterthought heel

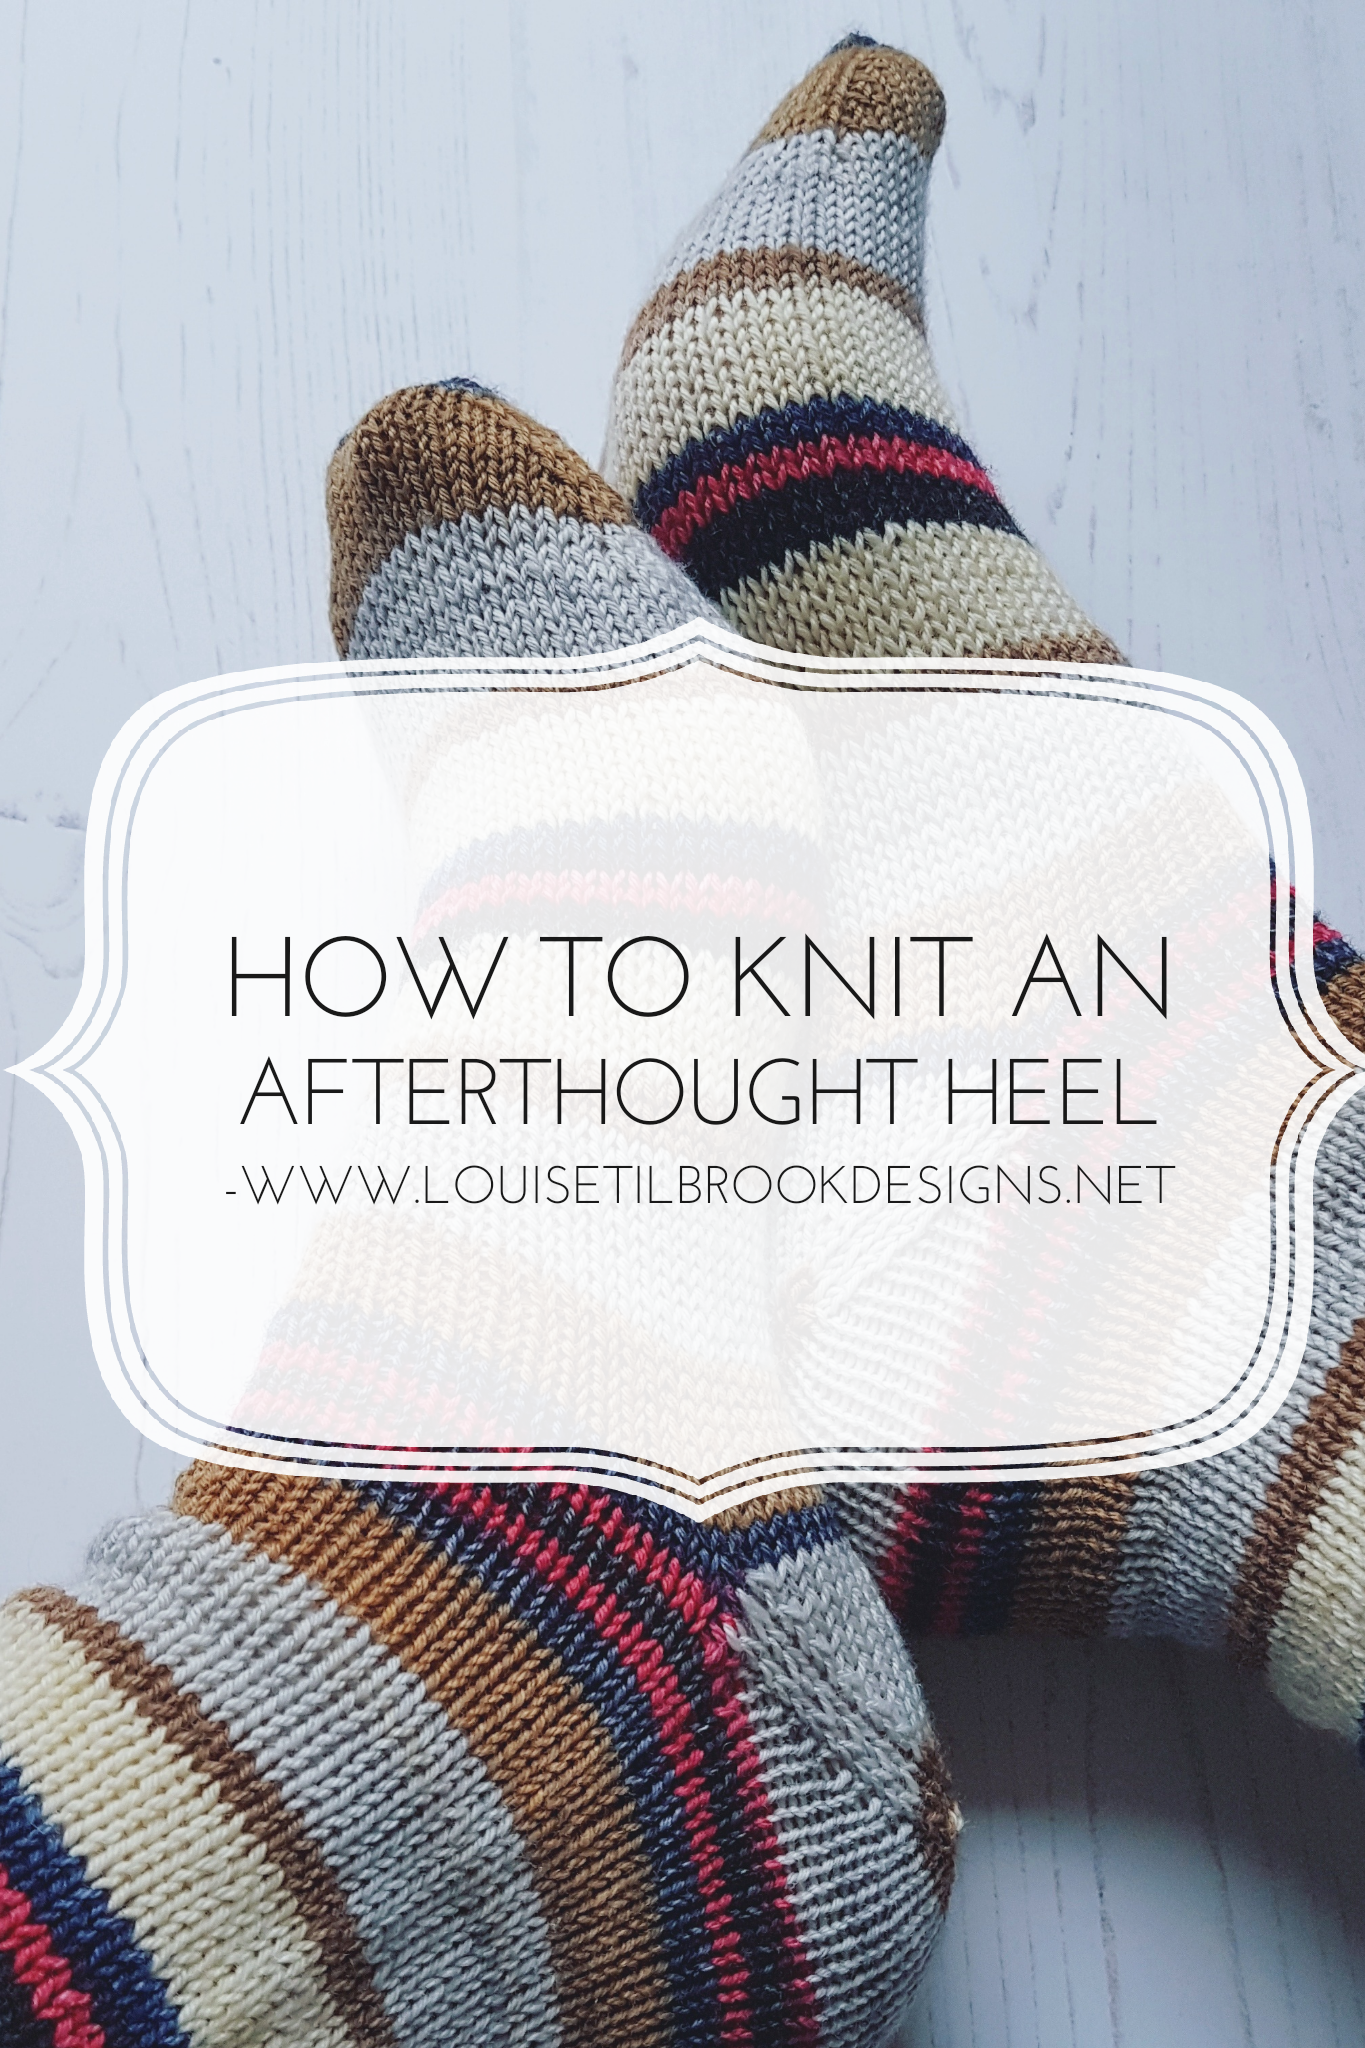
If you follow me on social media you will more than likely know that I'm a huge fan of the afterthought heel and indeed it is one of my favourite classes to teach. Every time I post an image on the subject though it generates a lot of comment and interest and so I thought I would do my best to summarise how I go about inserting a true afterthought heel.

There are also methods which involve knitting in a strand of waste yarn at the point where the heel is to go. This can then be removed from the sock tube and the live stitches placed onto your needles. Confusingly this may also be referred to as an afterthought heel when in fact it is really a Forethought heel - you need to know in advance where your heel is going to go. As you are merrily knitting your sock tube it isn't always possible to stop and try it on or otherwise determine where to place the heel - think crowded train carriage or dark cinema. For these and other reasons I vastly prefer the true afterthought heel.

For this you will need:

  • Your completed sock tube. I prefer to knit both socks and put in the heels at the same time.

  • 3 DPNs - I prefer wooden DPNs with sharp tips

  • 1 lockable stitch marker

  • 1 tapestry needle

  • Sharp scissors

  • Tape measure

1. Work out where to put the heel

Try the sock on and pull it firmly up the leg. Find your ankle bone on the inside of your foot and trace an imaginary line with your finger down to the sole (underside of your foot). Mark this point with a removable stitch marker. It is normally about 2-2.5" from the back of your heel.

2. Start to pick up stitches

Take the sock off, lay it flat being sure to have the toe flat - your heel needs to align with the toe - and starting at one side of the sock start to insert a DPN tip into the first leg of each stitch from the row you have marked with your stitch marker (self striping yarn can be helpful here as, often you can follow the line of a colour change).

Work your way across, take your time being sure to pick up the leg of each stitch until you have half the number of stitches of your total sock circumference. eg. for a 64st sock I would pick up 32st. I find that wooden DPNs are easier to use as they are more flexible but this is personal preference.

Once you have 1 line of stitches picked up repeat the process on the 2nd row below your first DPN. You will end up with stitches on 2 DPNs separated by 1 row of knitted stitches.

3. Identify where to start snipping

Insert a tapestry needle into the leg of one stitch in the middle of that row and pull it up firmly to make a loop. Take a deep breath and snip that loop. Now breathe out and slowly start to unpick the loose thread you have created on each side of the fabric.

4. Start to snip!

Keep going all the way across until you have 2 DPNs each with 32 (or your chosen number) stitches on them and two curly strands of yarn at either end. These ends can be woven in later. I normally tie them in a knot with the working yarn to keep the tension even. I then untie them and darn them in at the end.

5. With all stitches present and correct

It happens to the best of us. During the picking up of stitches if you find that you have missed a stitch and you have one loose, just secure it with a lockable stitch marker and slip it back on the needle as you knit that row.

Use your locking stitch markers to capture any strays

Now, just reattach your working yarn and start decreasing as you would for a toe. Essentially you are knitting a 2nd toe in the middle of your sock. My preferred way of doing this is:

Rnd 1: ssk (sl 1 knitwise, sl 1 purlwise, k those 2 tog tbl), k to last 3 st, k2tog, k1. Repeat on 2nd DPN

Rnd 2: k

You may come across the odd stitch which is aligned back to front on the needle, if that happens simple knit it through the back loop to correct it.

Repeat Rnds 1 and 2 until you have decreased the total number of stitches by half. For my 64st sock this would be 2 DPNs each holding 16st. Try on the sock at this point and check the fit. If you need to do a few more rounds you can continue 1 or 2 more decrease rounds.

Finally - thread a tapestry needle and graft the heel closed, exactly as you would do a toe.

Weave in all the ends and do a happy dance in your new socks! Take a photograph to show me (tag it with #louisetilbrookdesigns)  - I'd love to see your finished heels :)