magic loop

Magic loop without the mystery

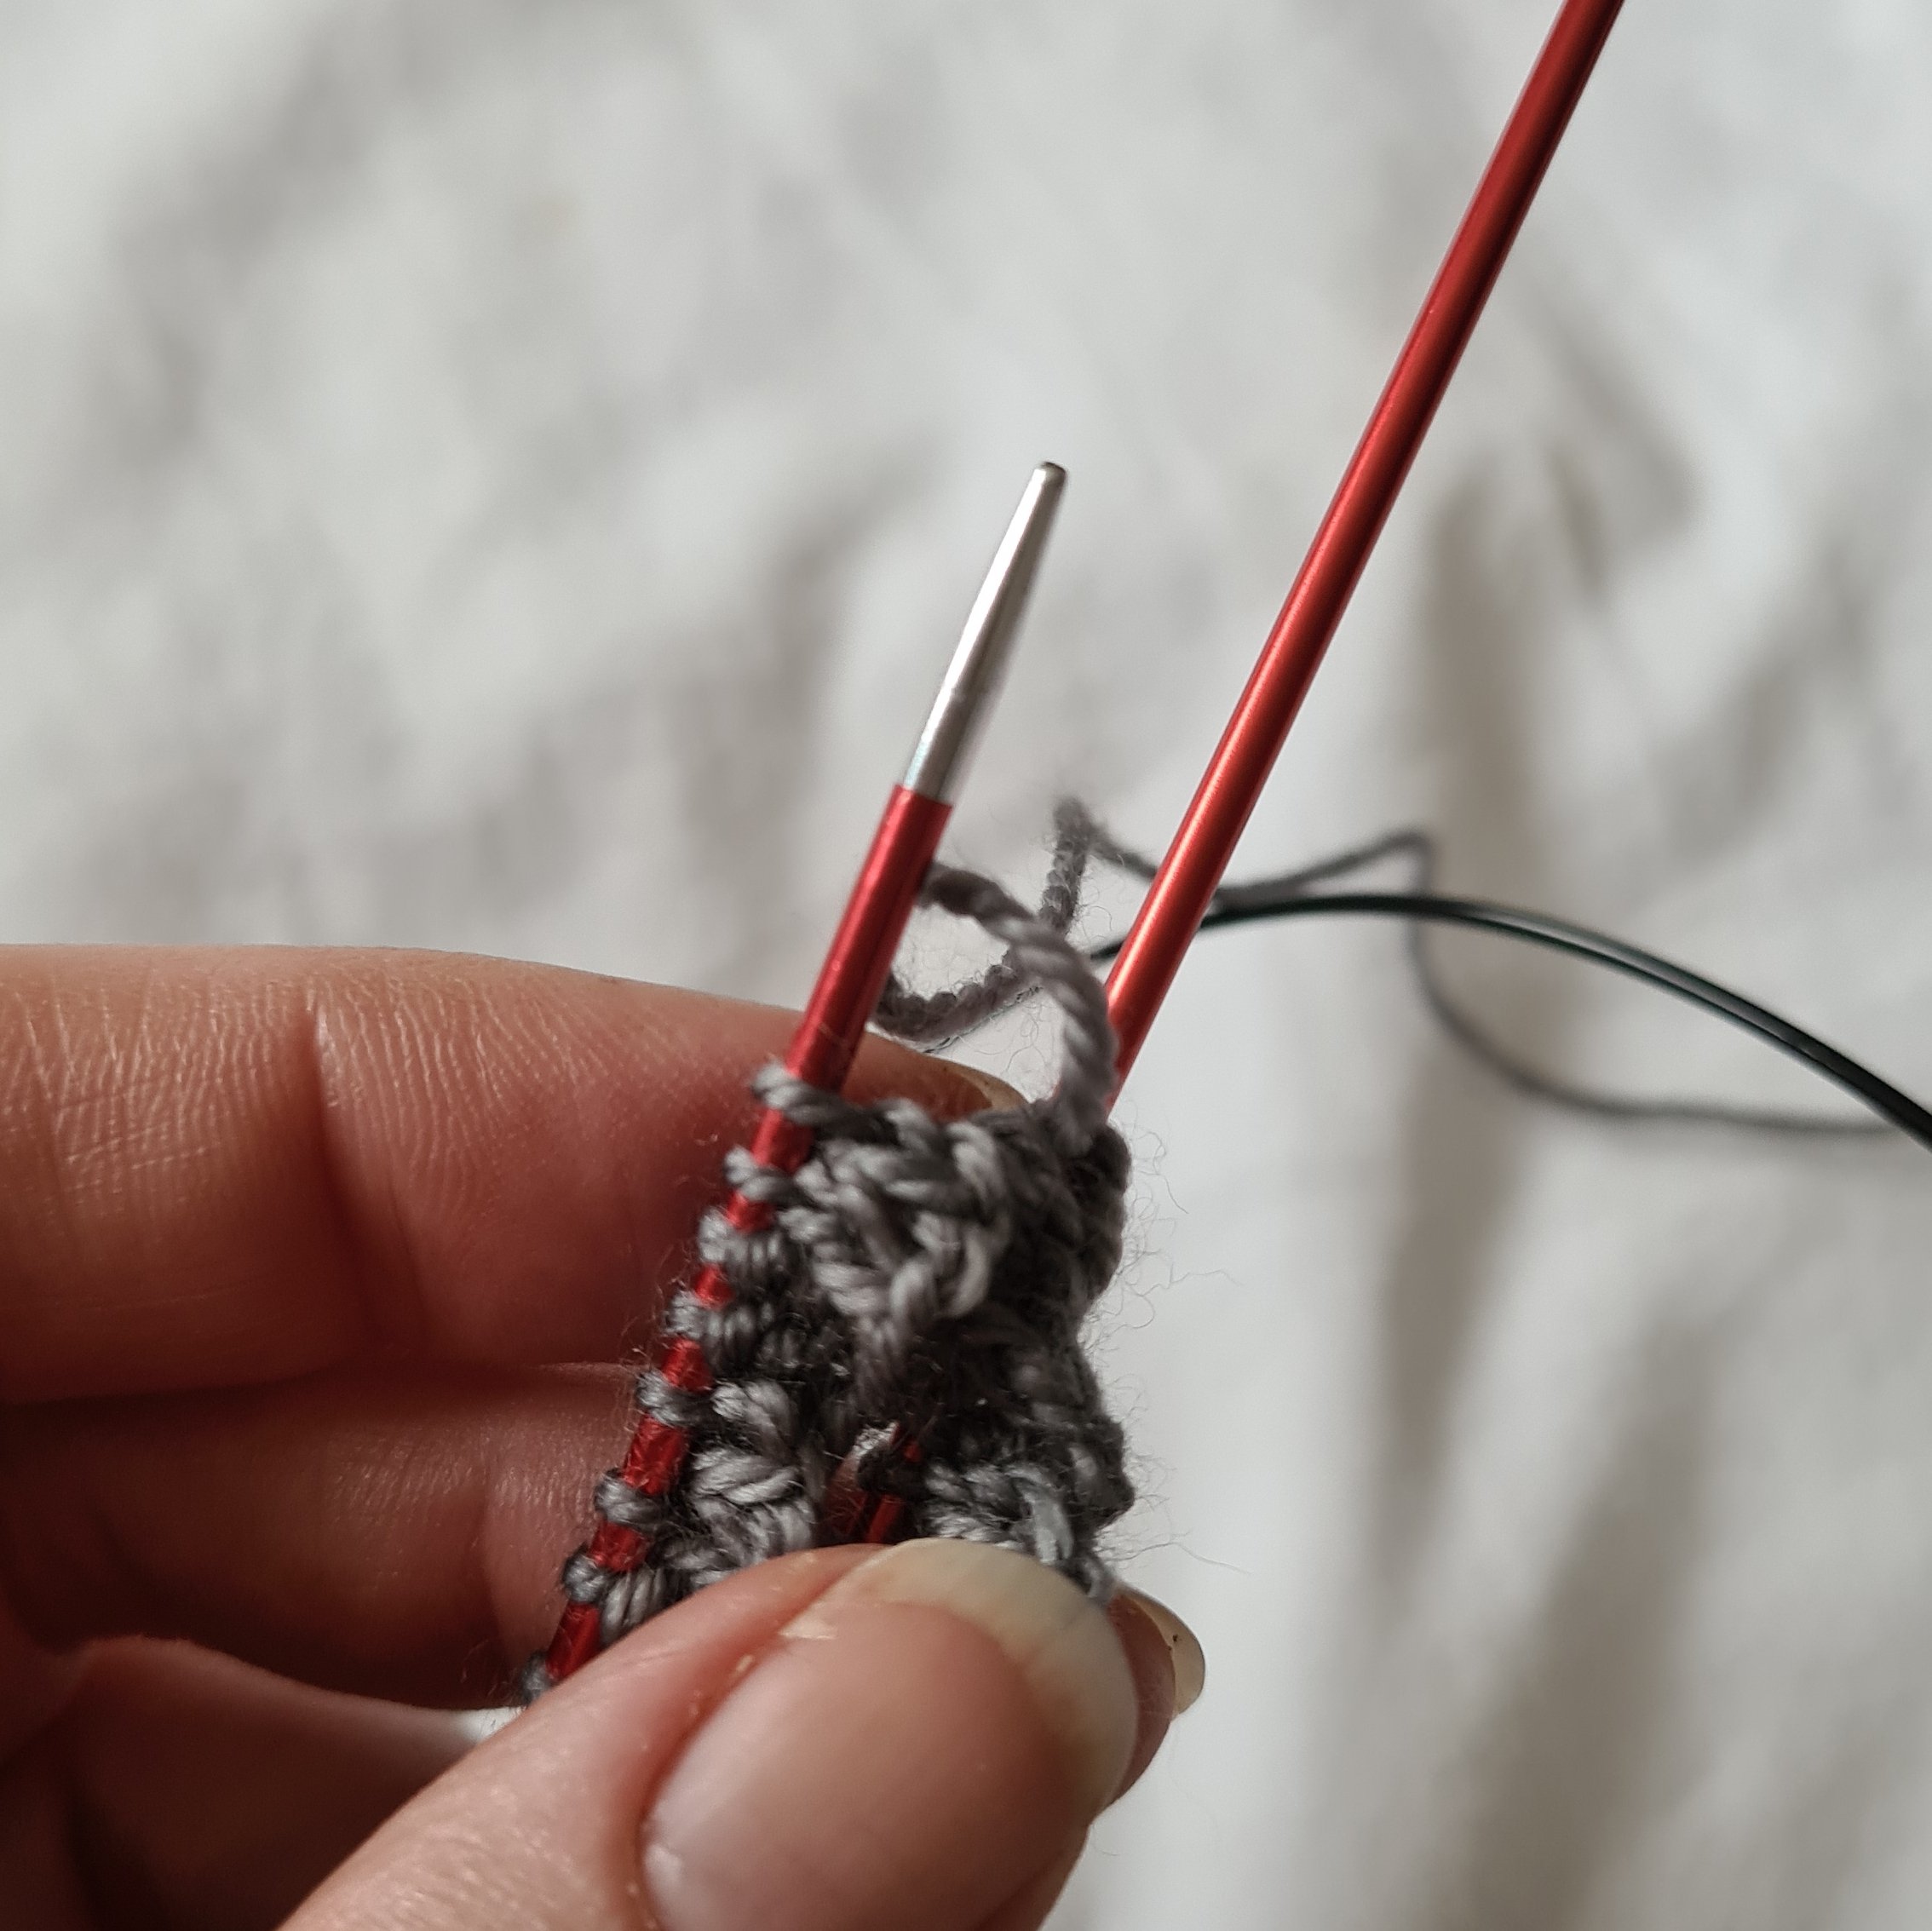
A sock cuff, primed and ready to knit - magic loop style

Magic loop has to be one of the phrases that springs to mind when people think of ‘advanced’ or ‘complicated’ knitting. But really, nothing could be further from the truth.

It is really just a way of knitting in the round, when your stitches aren’t sufficient to stretch all the way around the cable of a circular needle. If you want to knit a hat in worsted weight yarn on a 60cm cable circular you can just cast on your stitches, join and knit around and around with a smile of happiness on your face.

If you have fewer stitches - say you want to knit a baby hat in sockweight yarn and only need 60sts there is no way on Gods green earth you can make those stitches stretch, no matter how hard you tug.

Yes, of course you can use DPNs but as a life-long DPN avoider (those pesky things are determined to slip out of my hands and into the depths of the sofa) I prefer a simpler solution.

Enter - magic loop.

All you do is to divide your stitches in half, treating the two needle tips of your cicrular needle as needle 1 and needle 2 respectively.

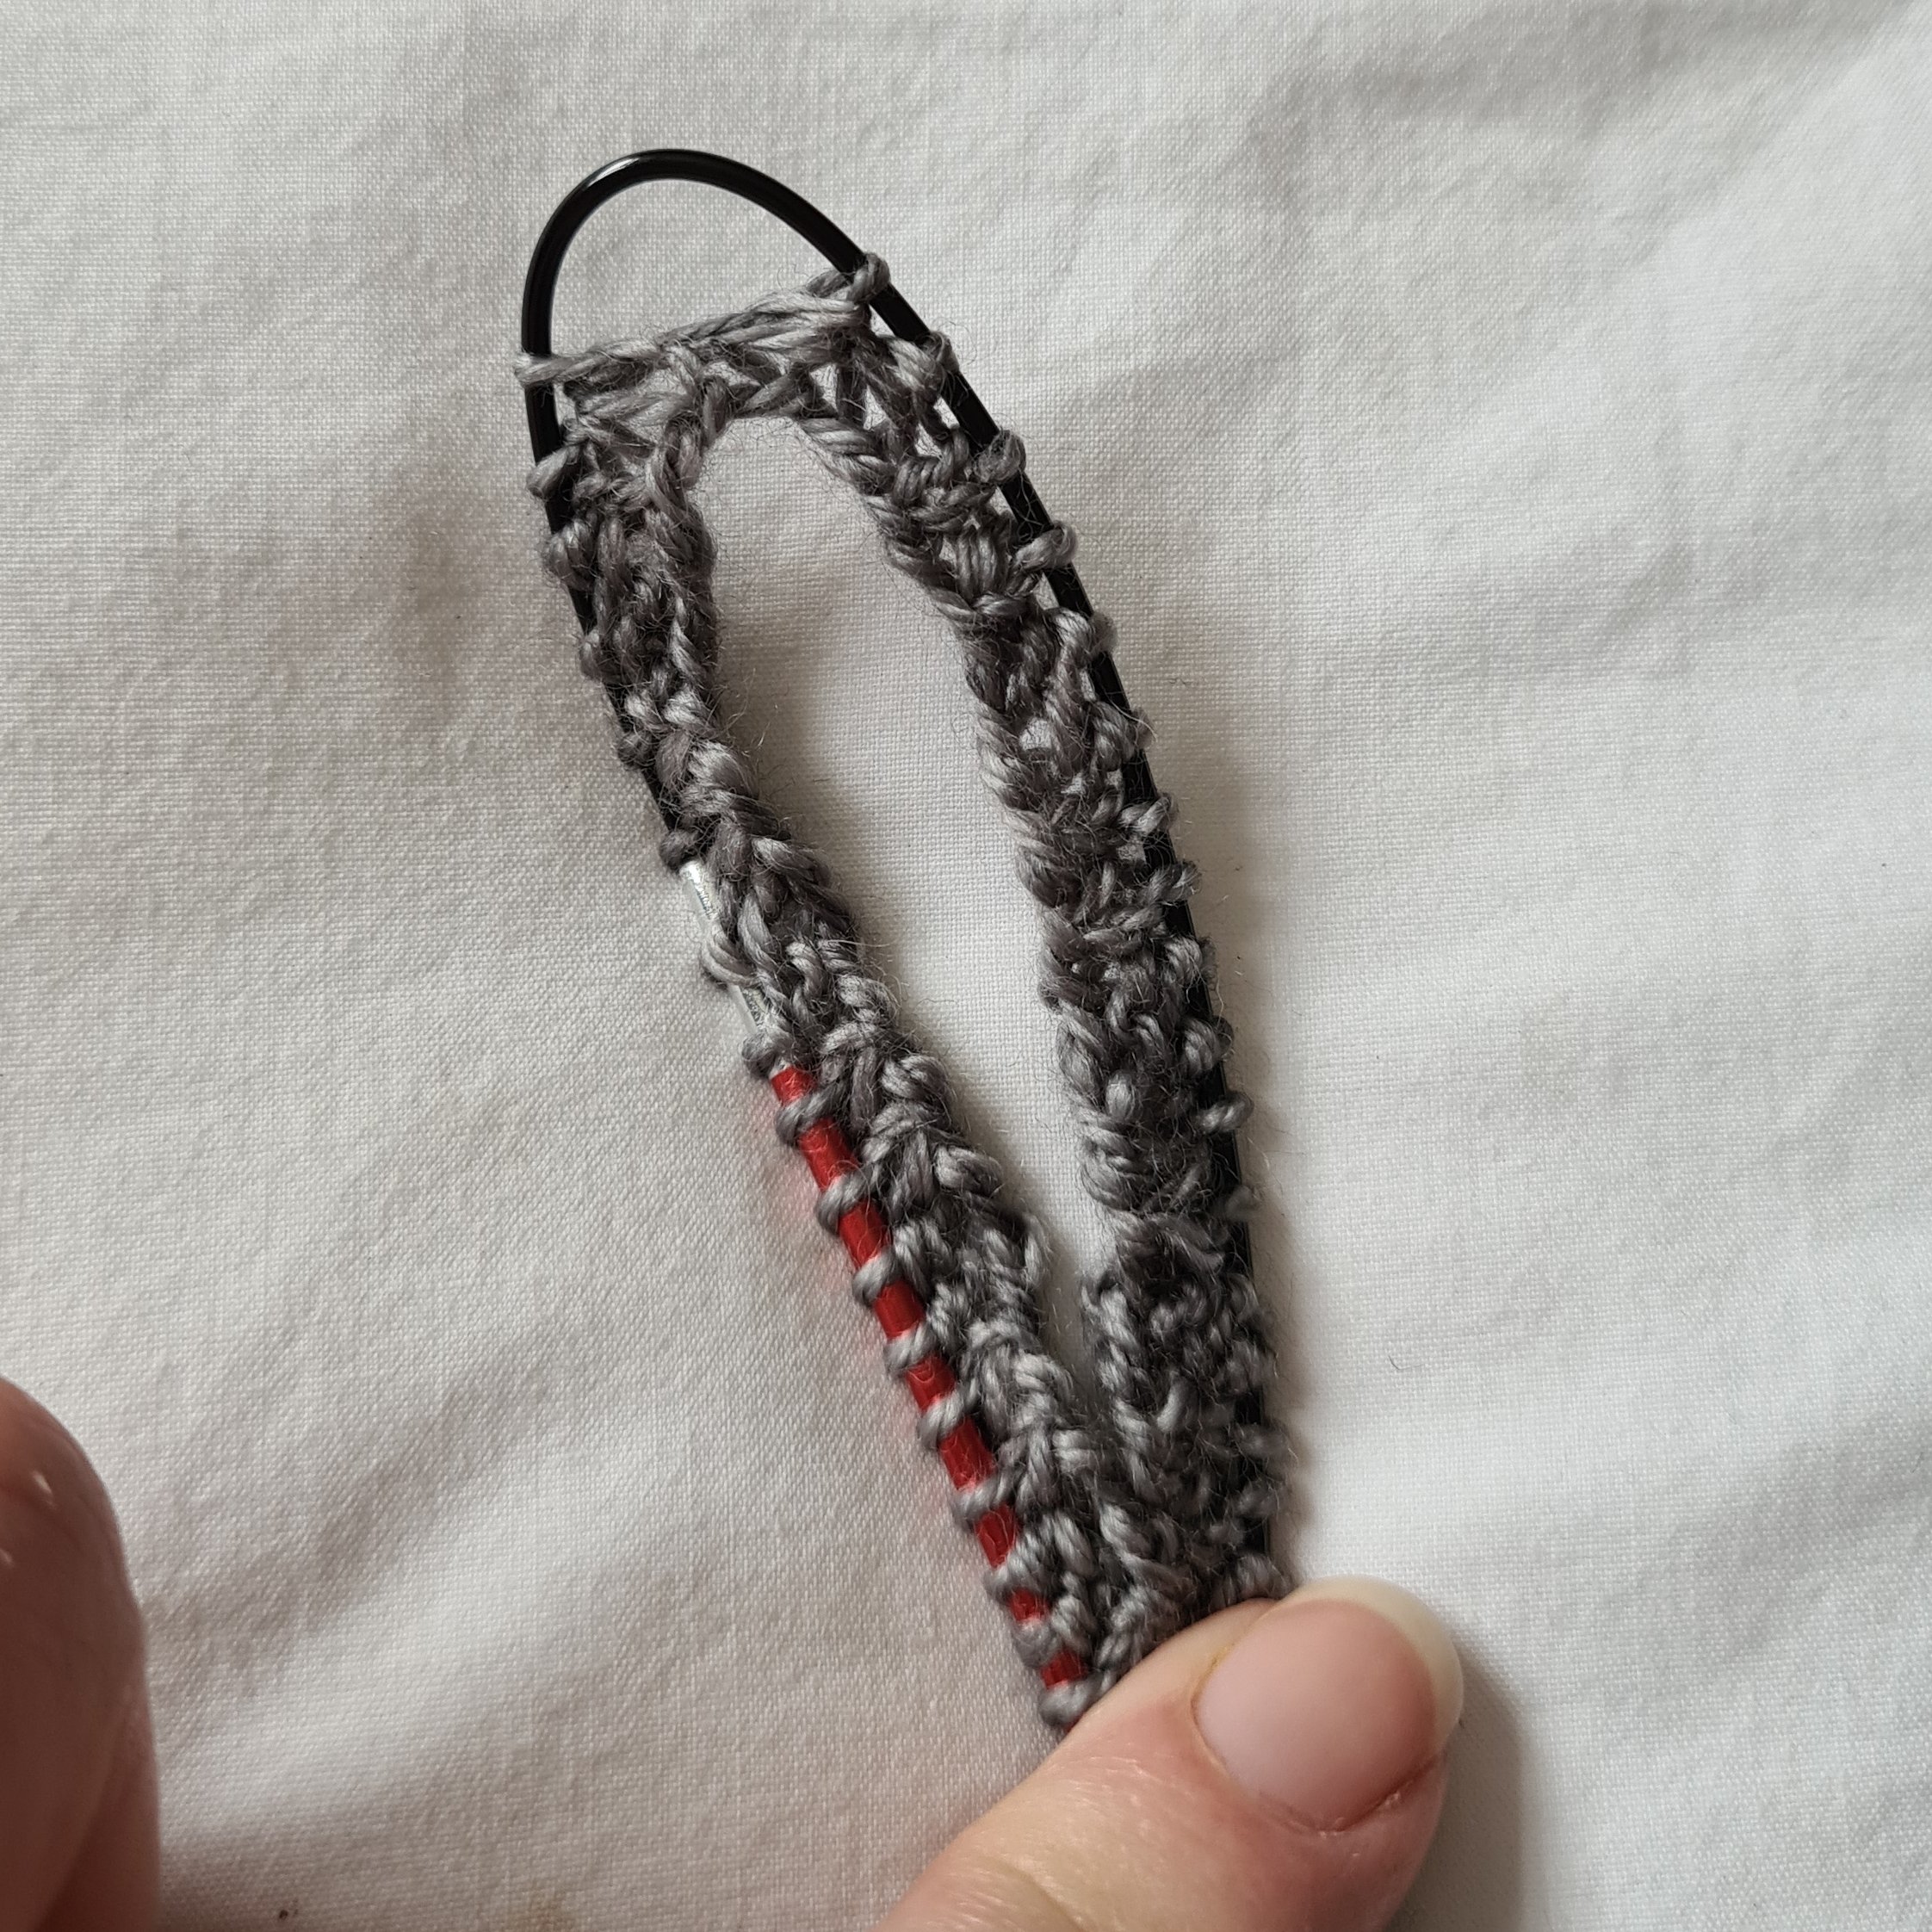
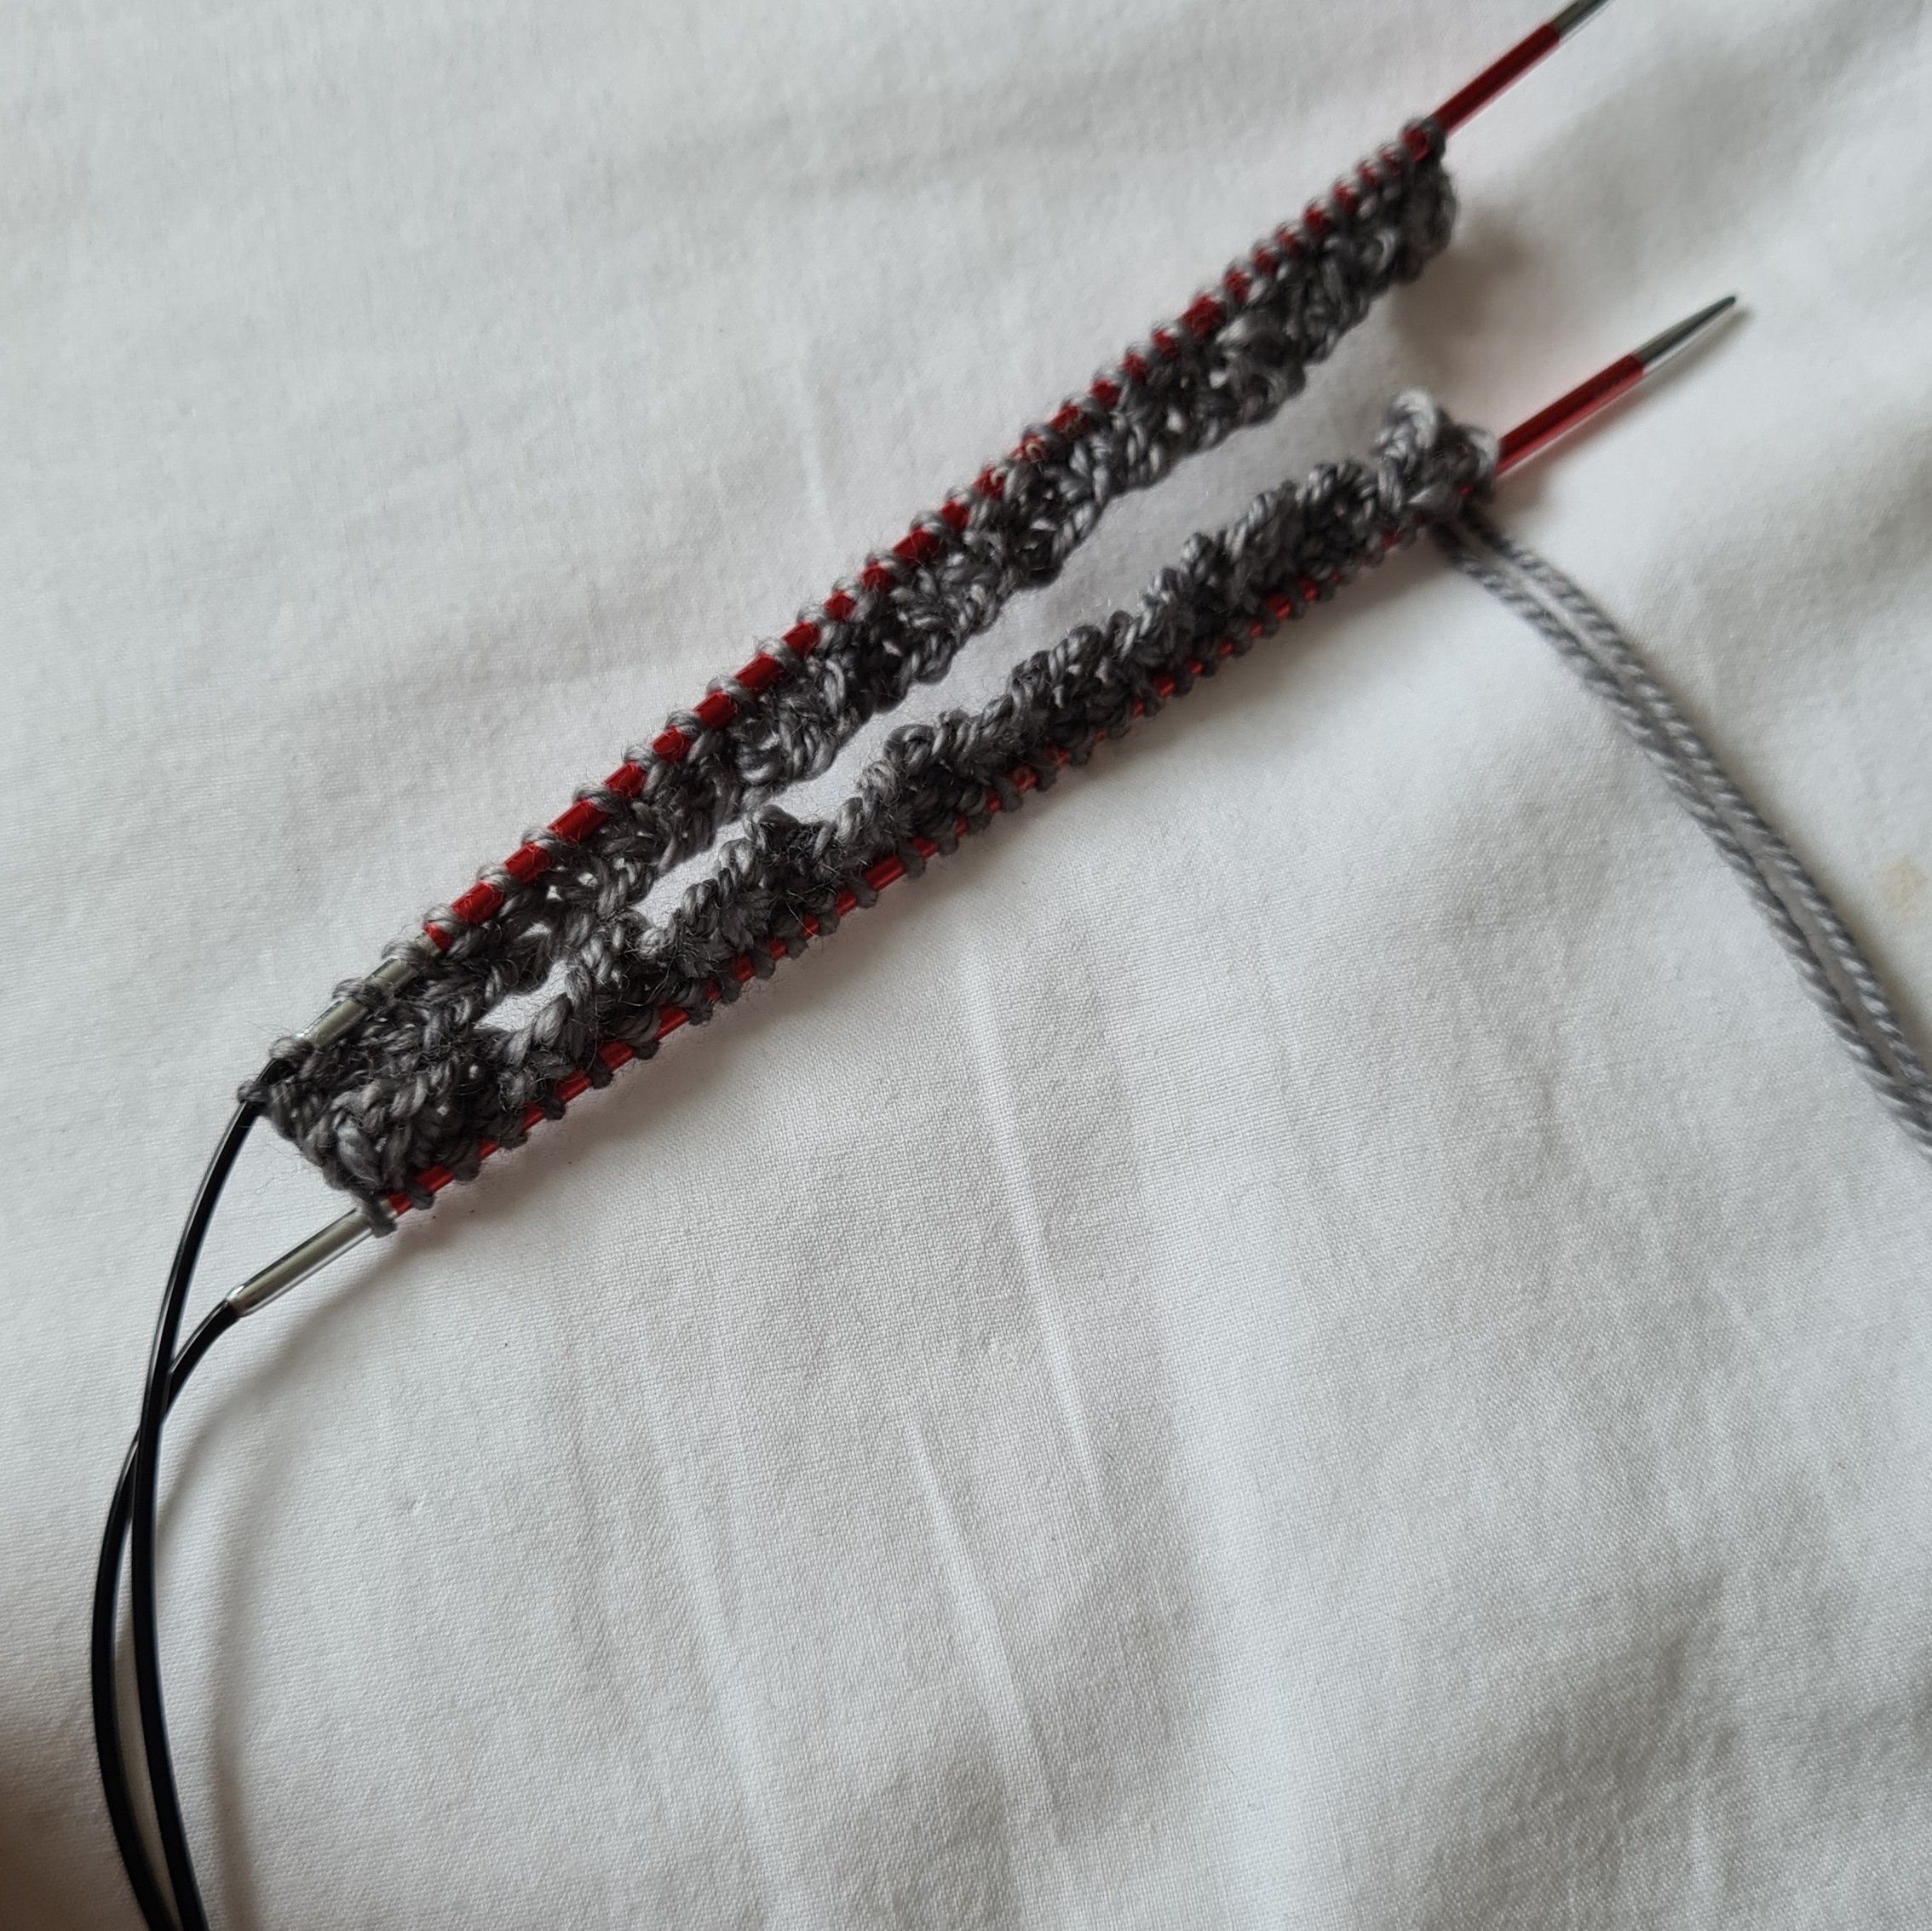
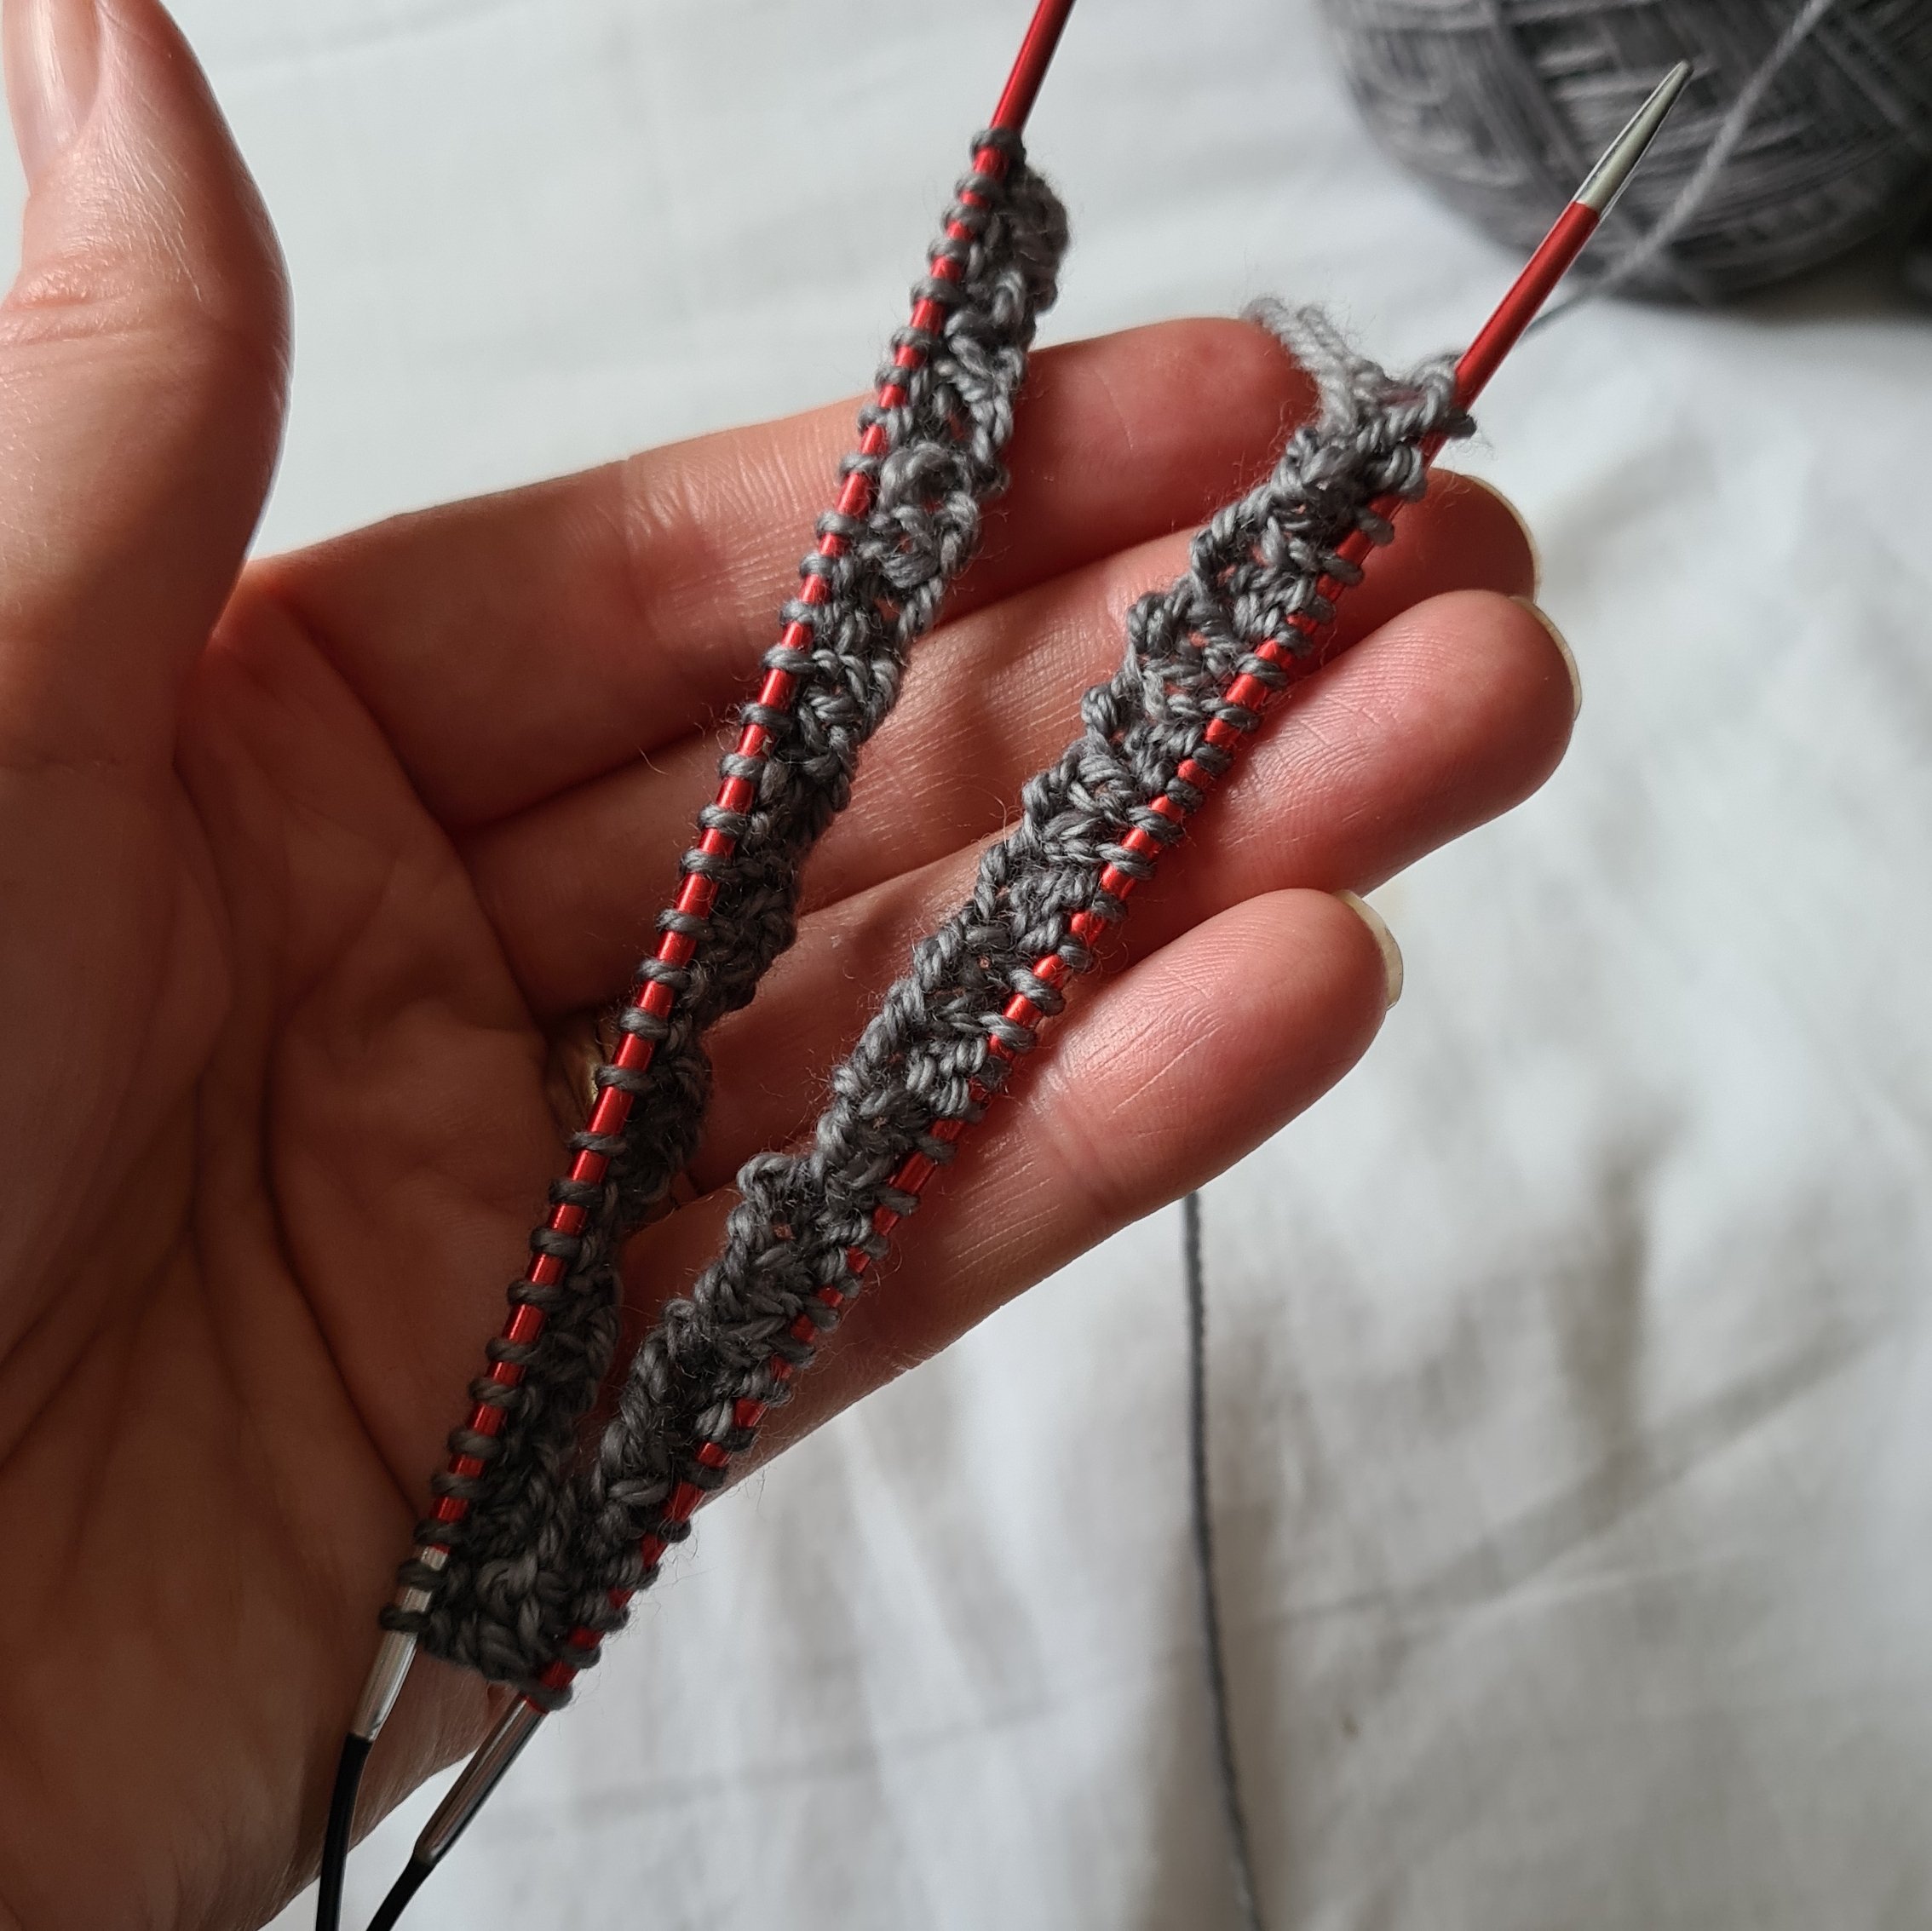
If you are keen to give it a go I have written out the steps for you below along with step by step images.

Or tap to the bottom to see a video of it in action. Honestly, it’s not as scary as you might think.

HOW TO MAGIC LOOP:

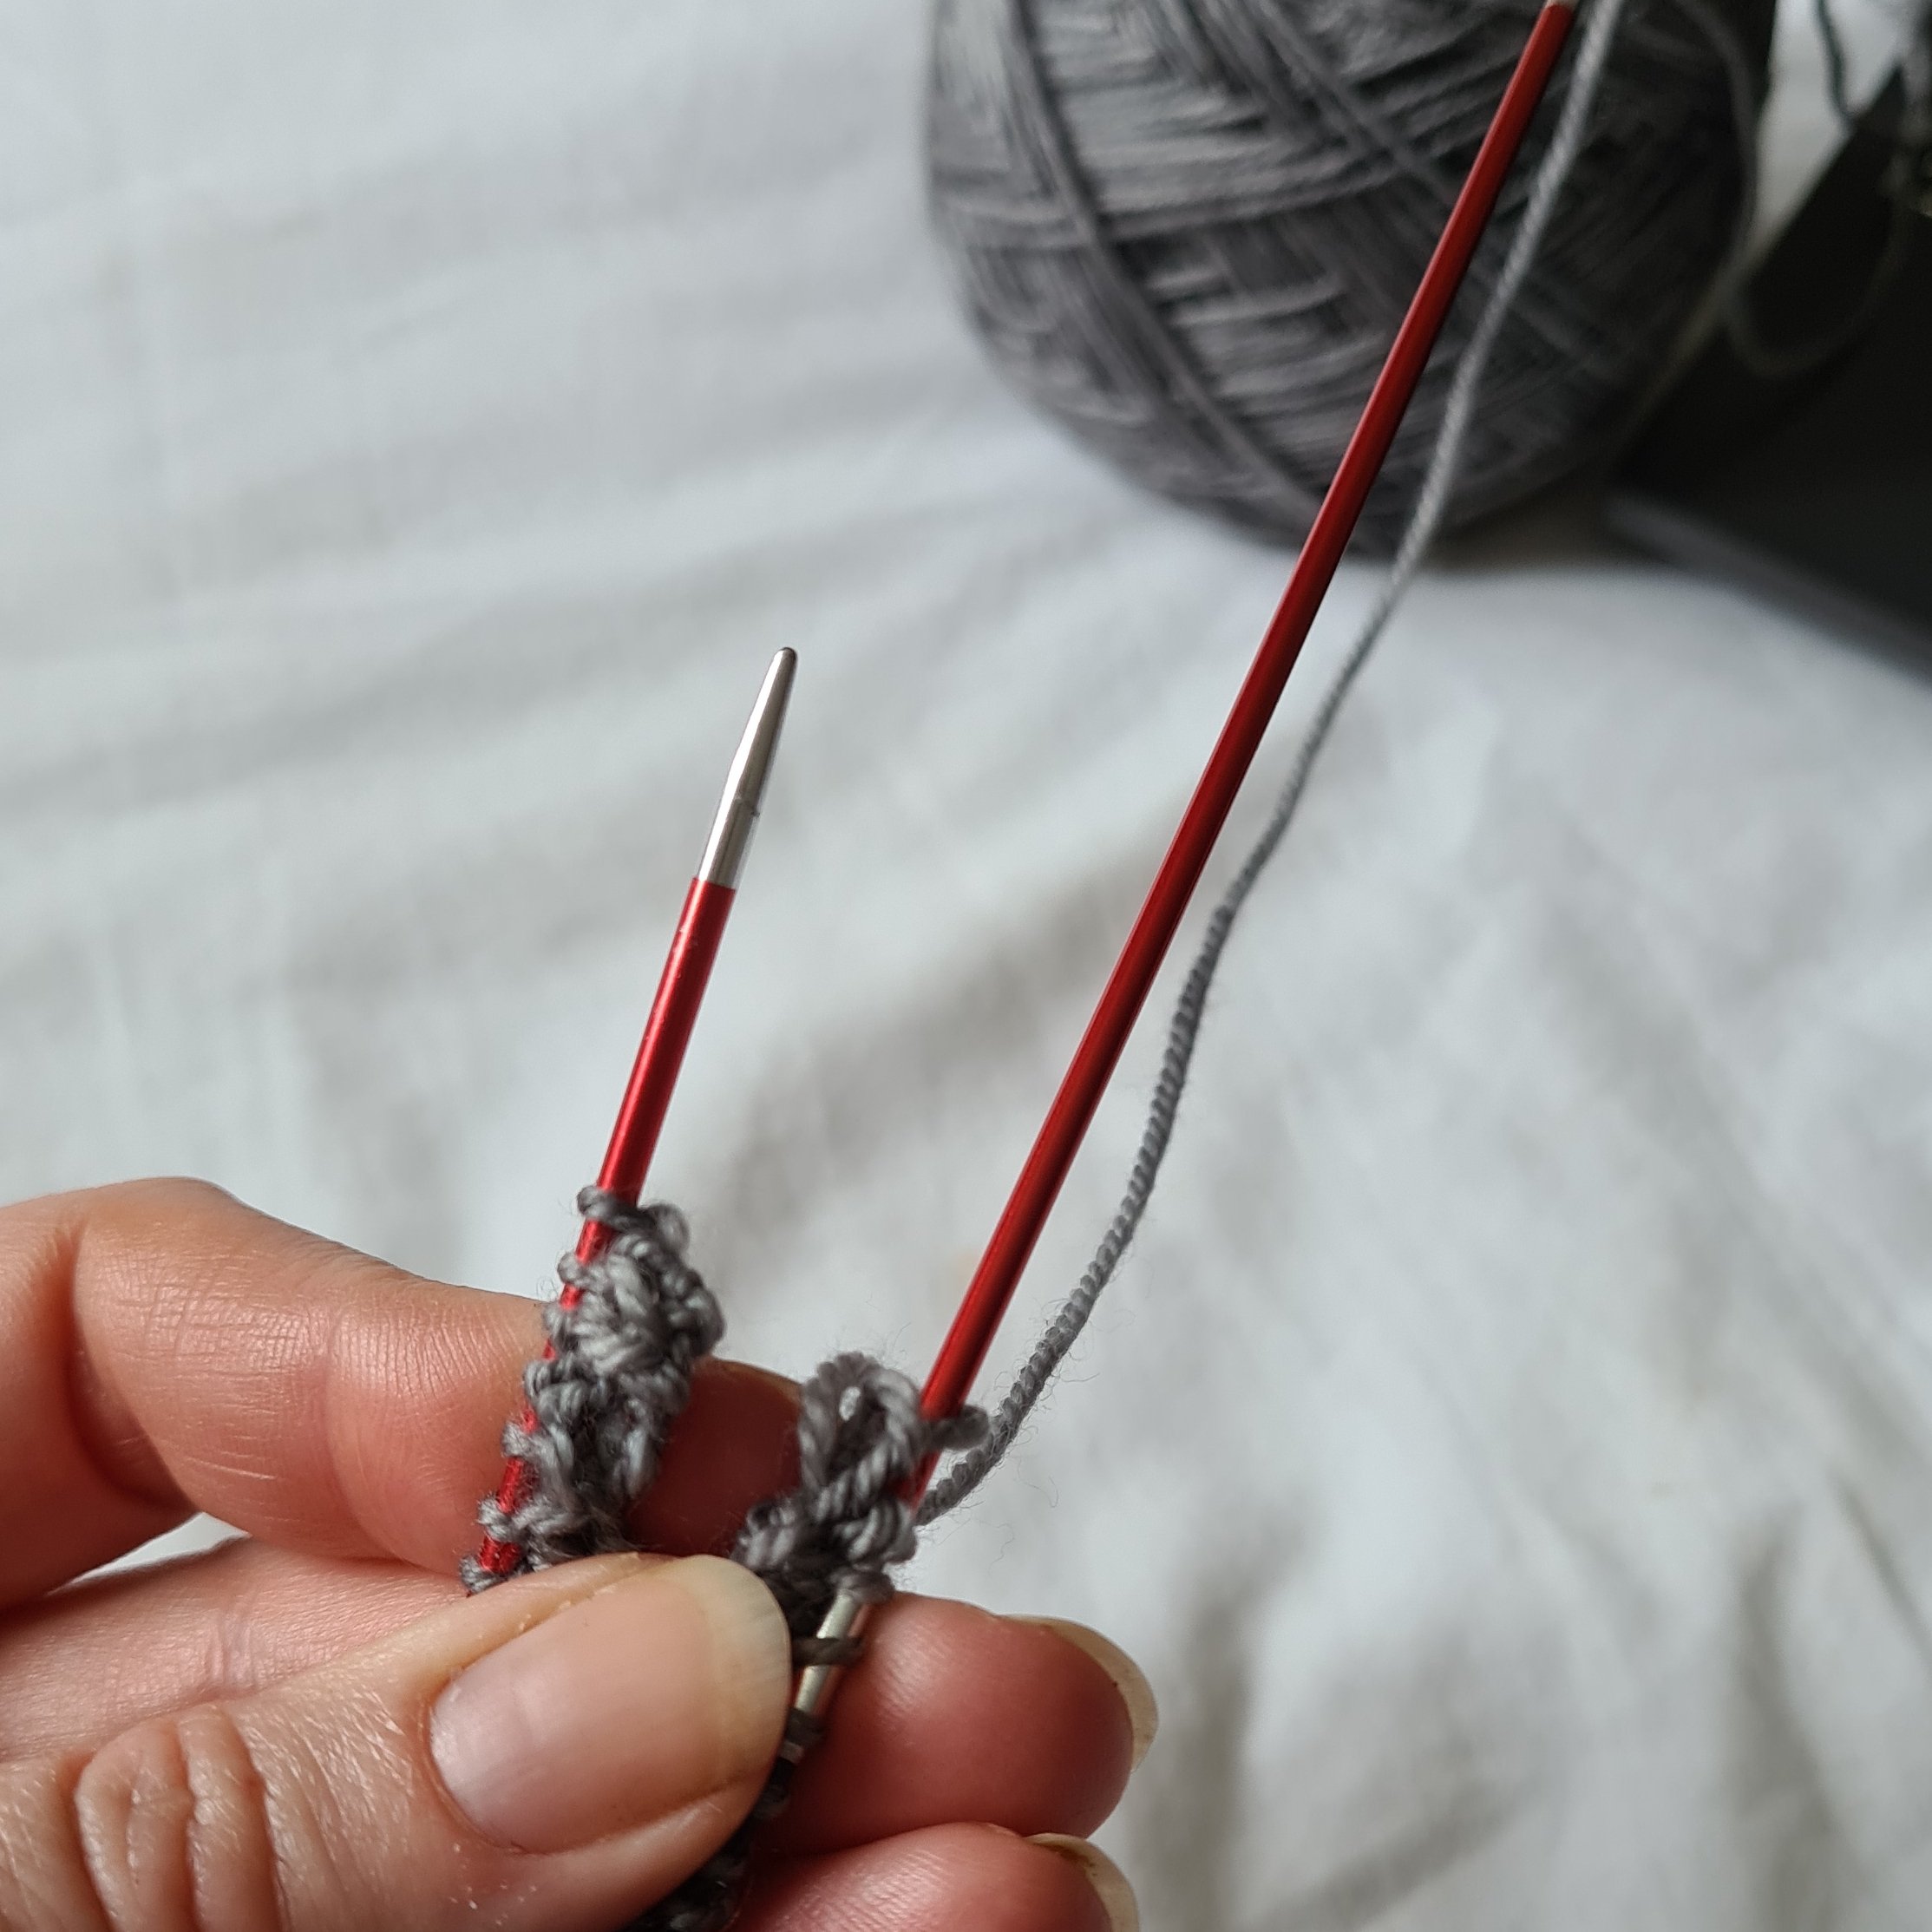
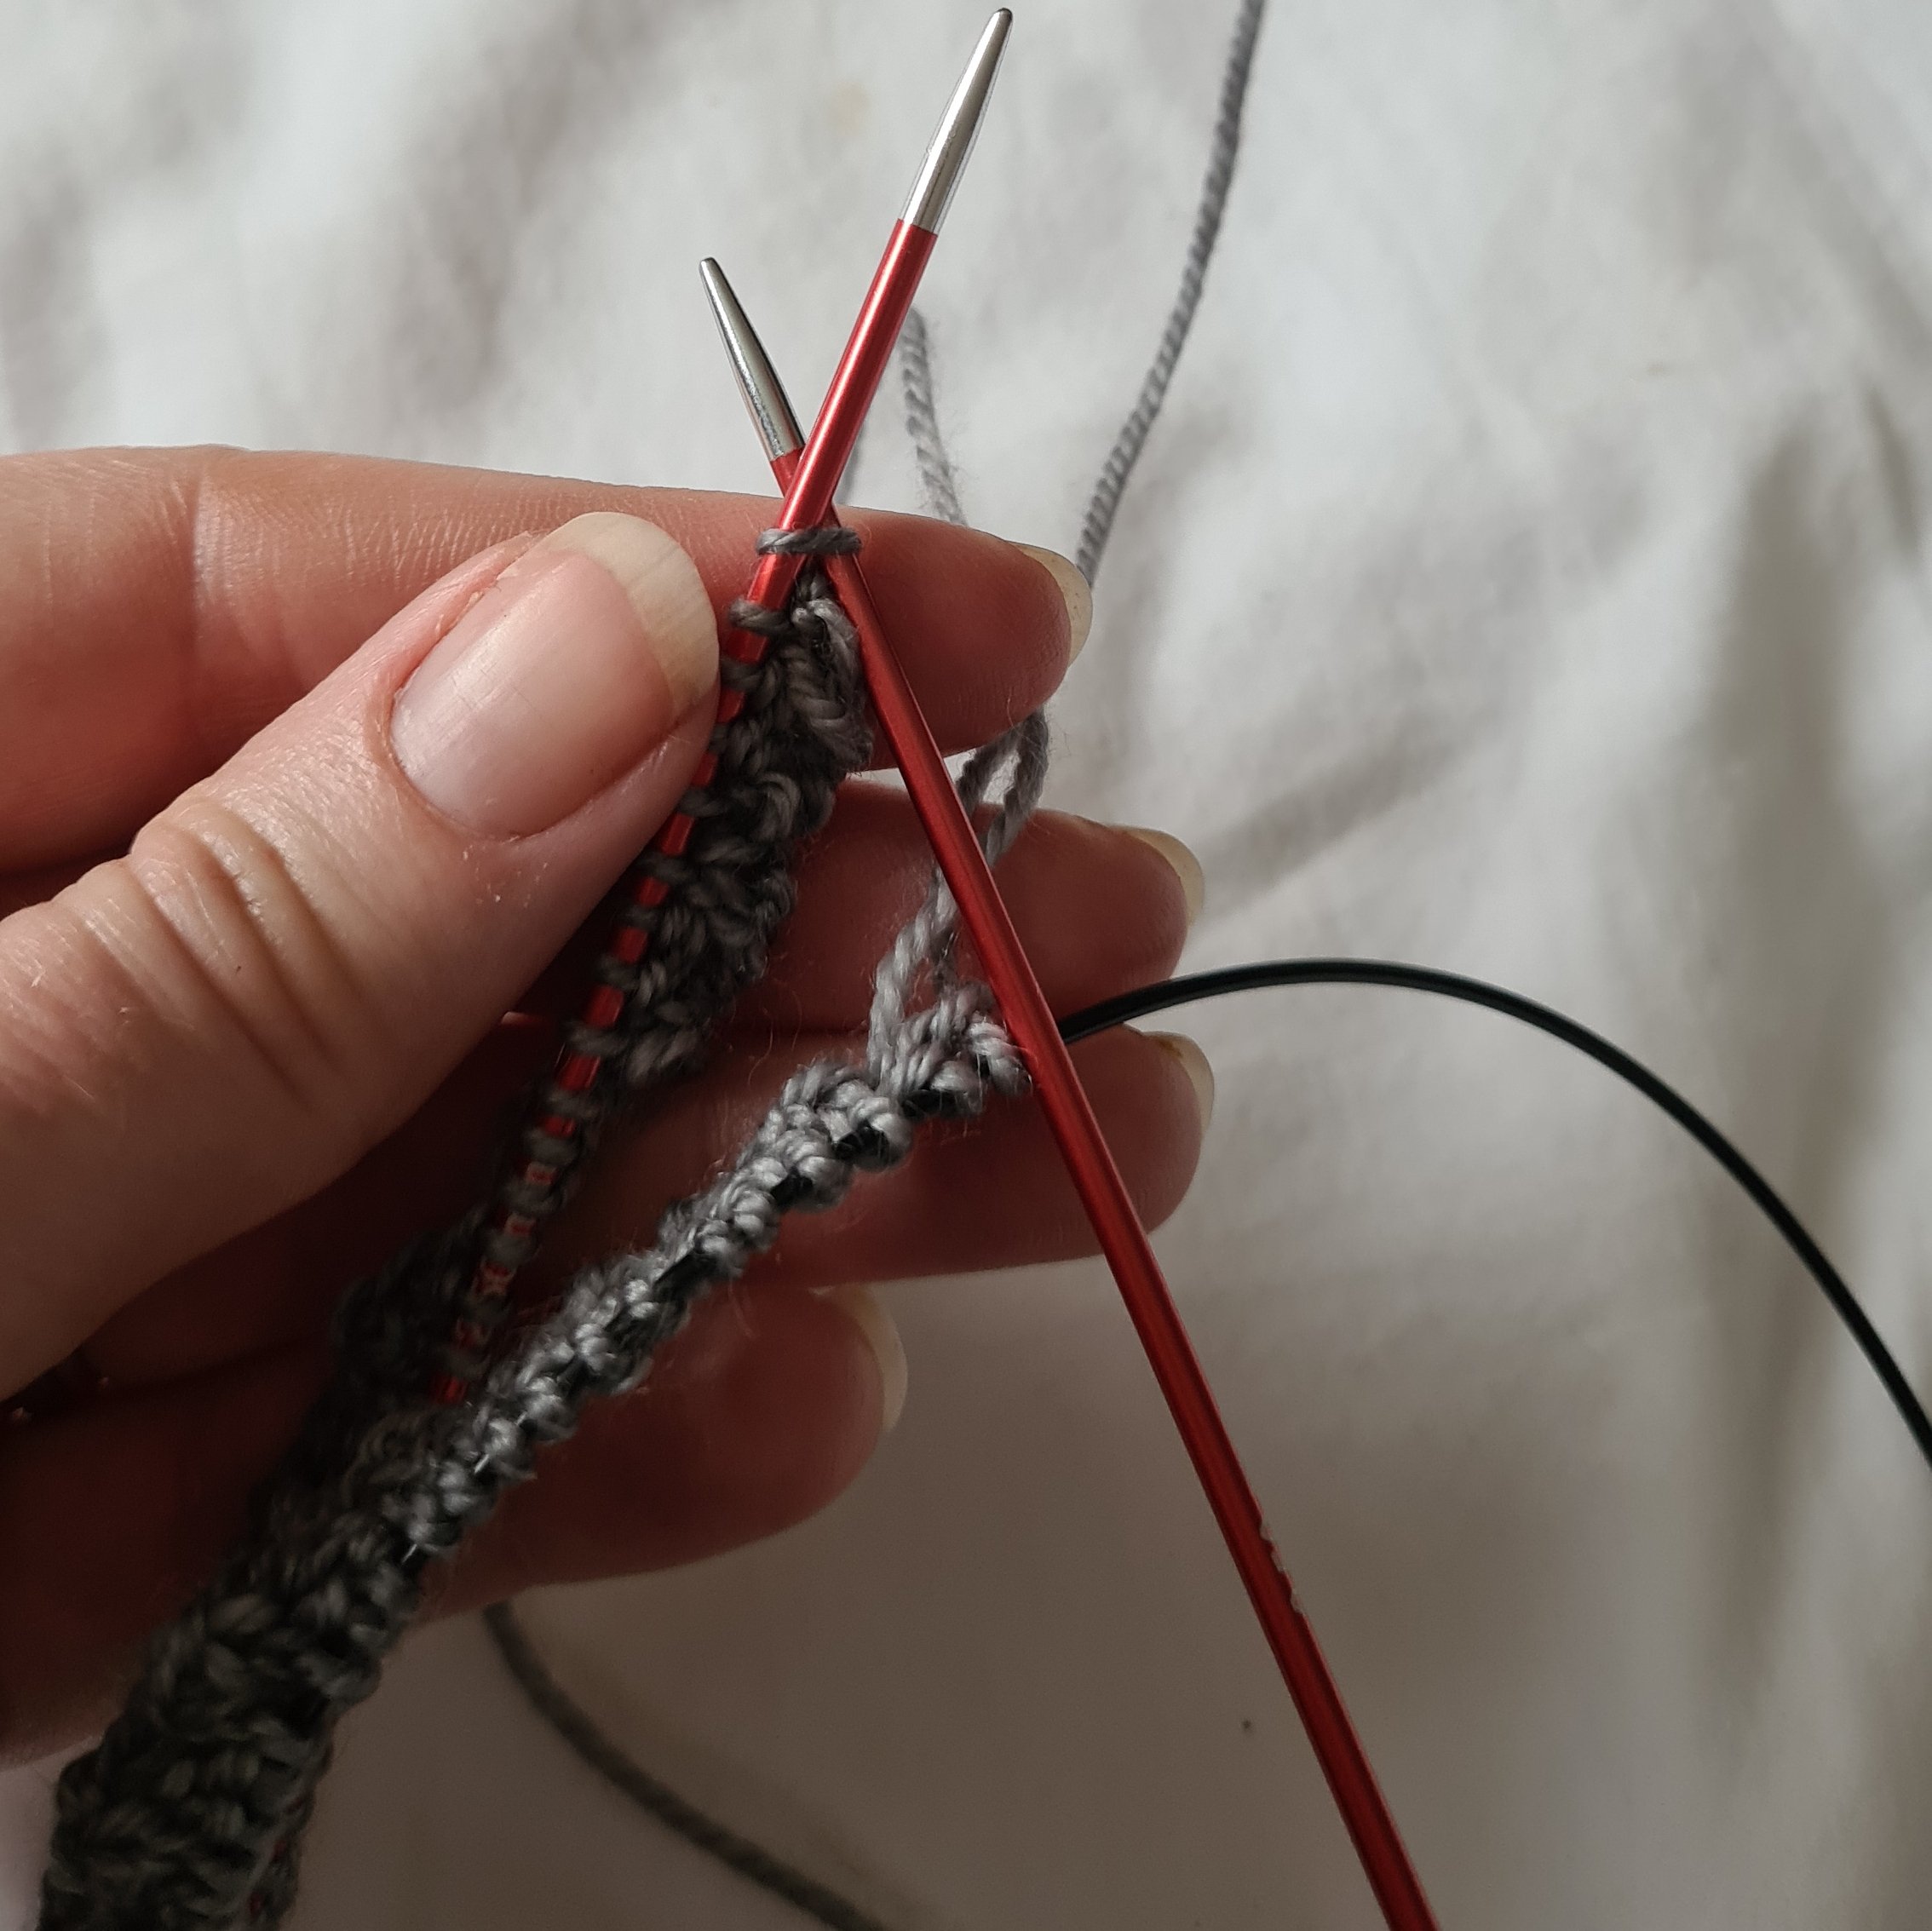
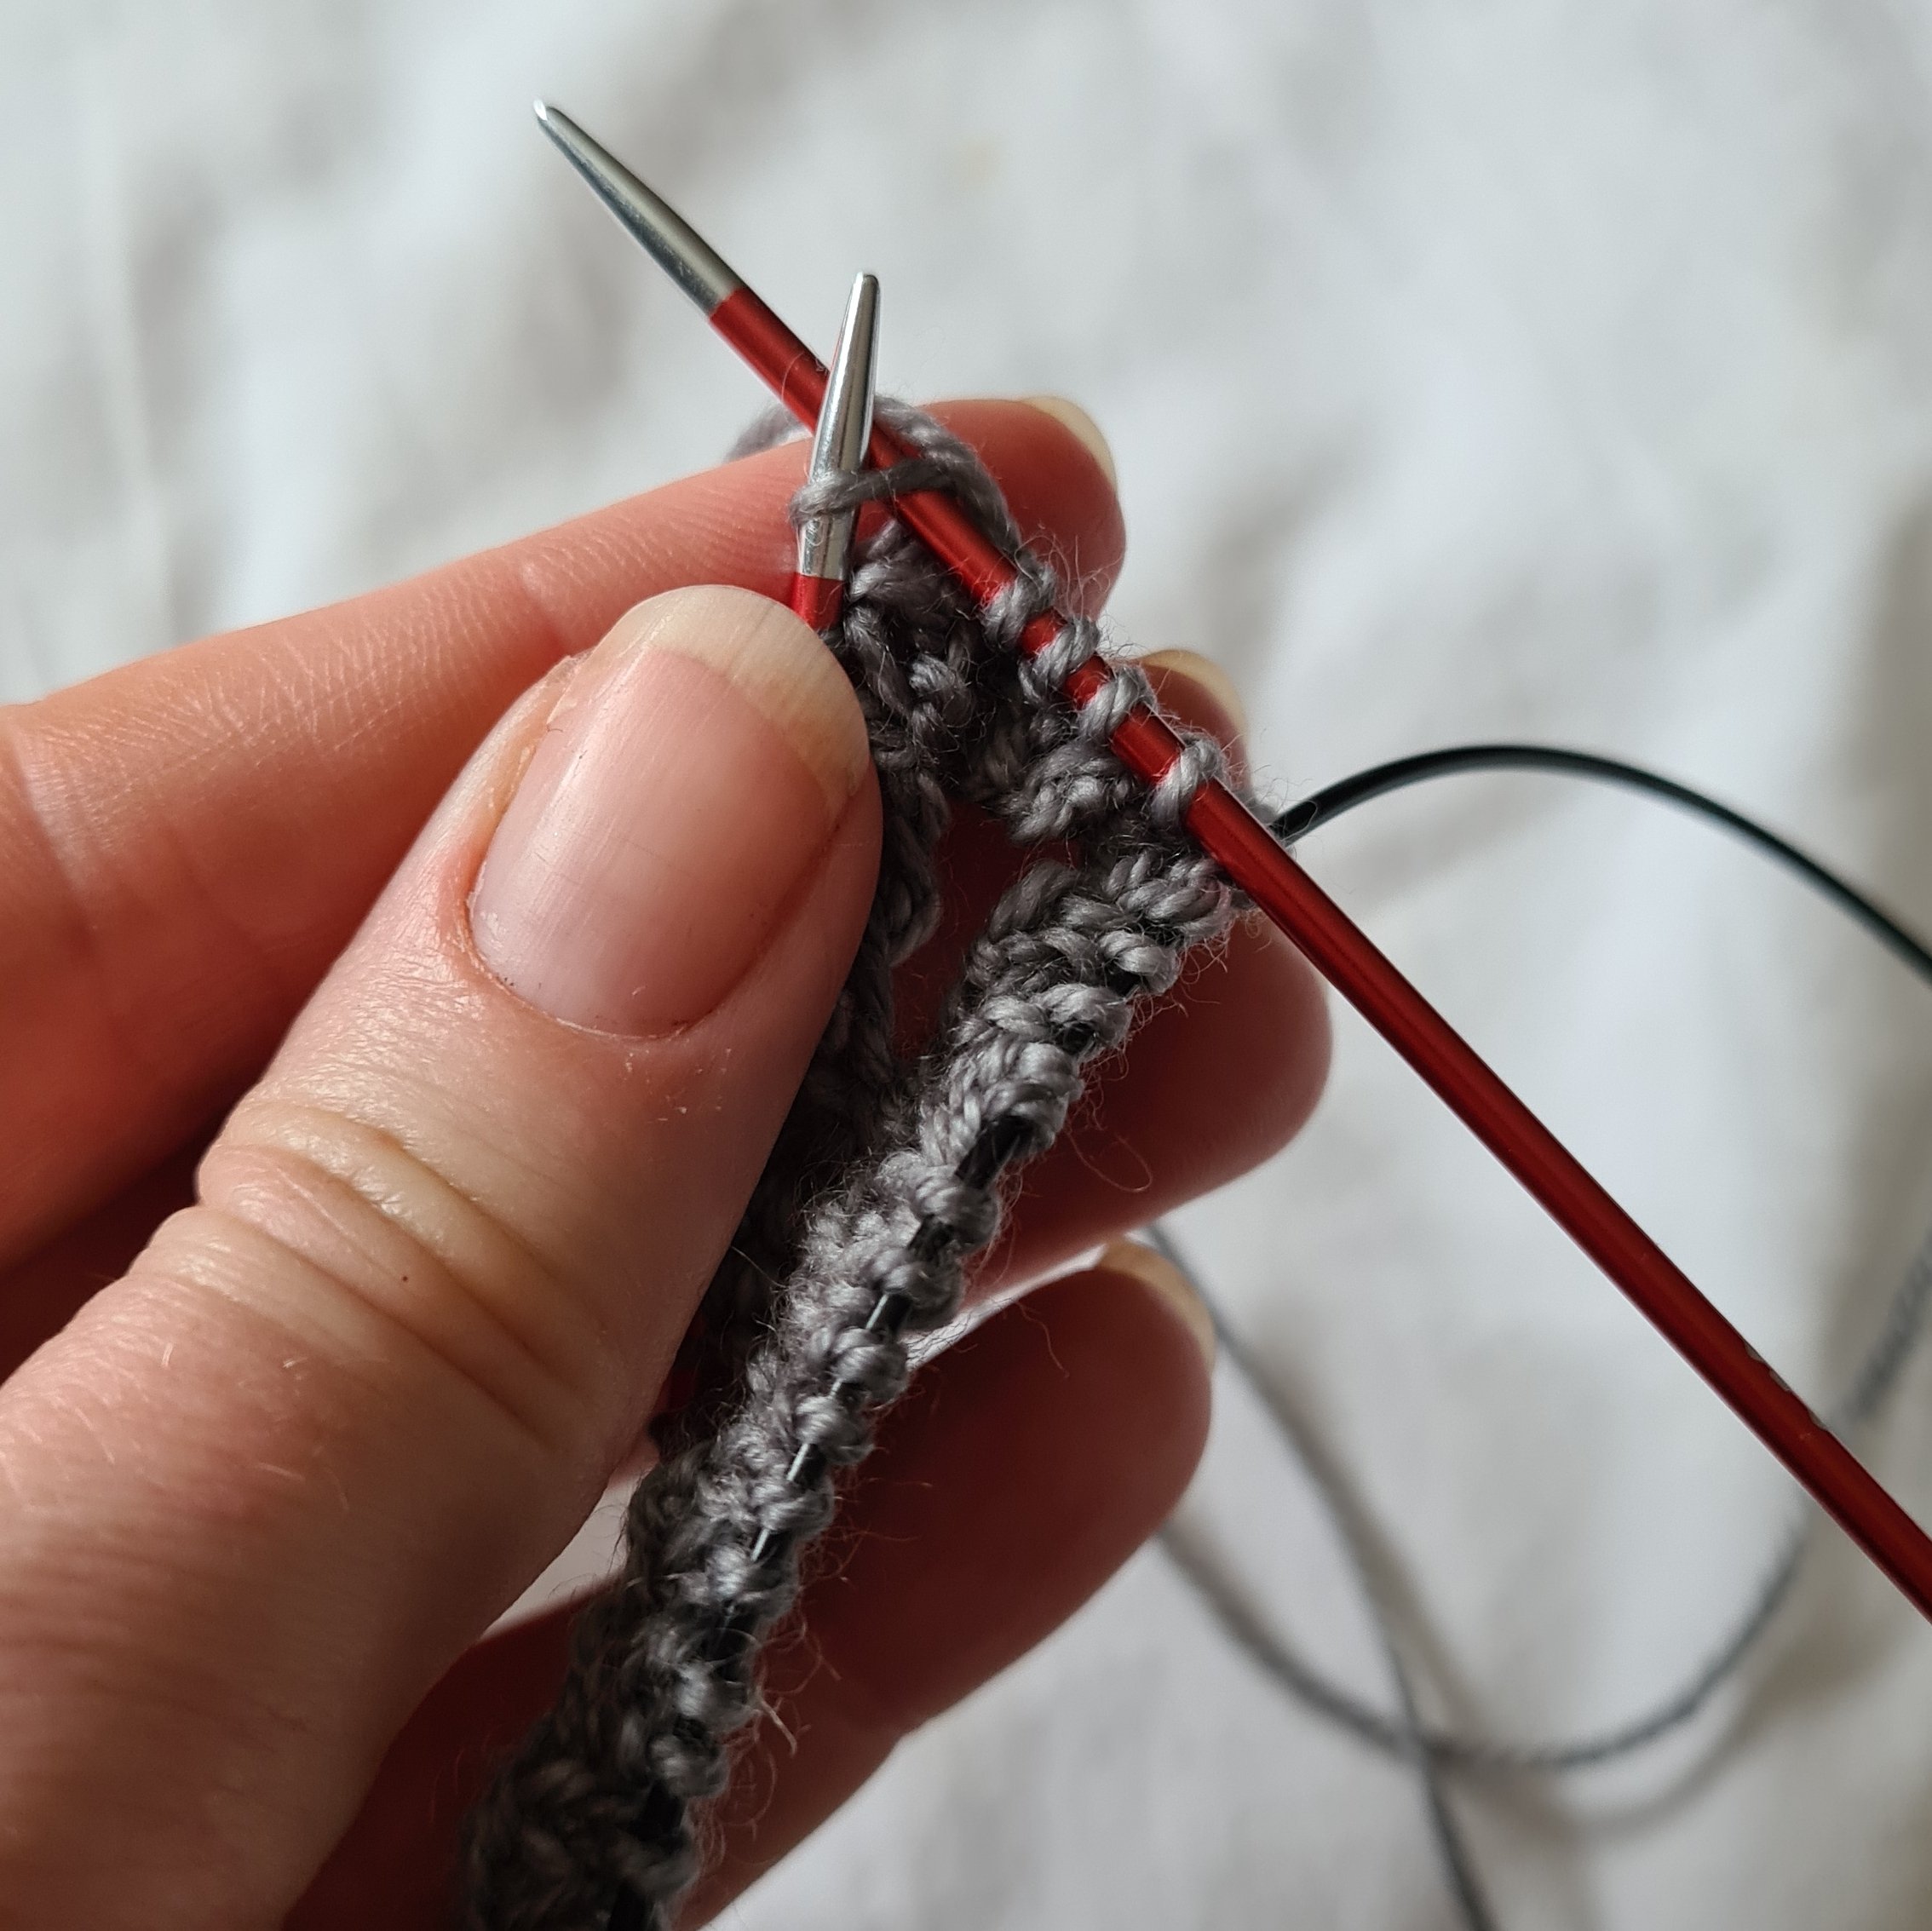
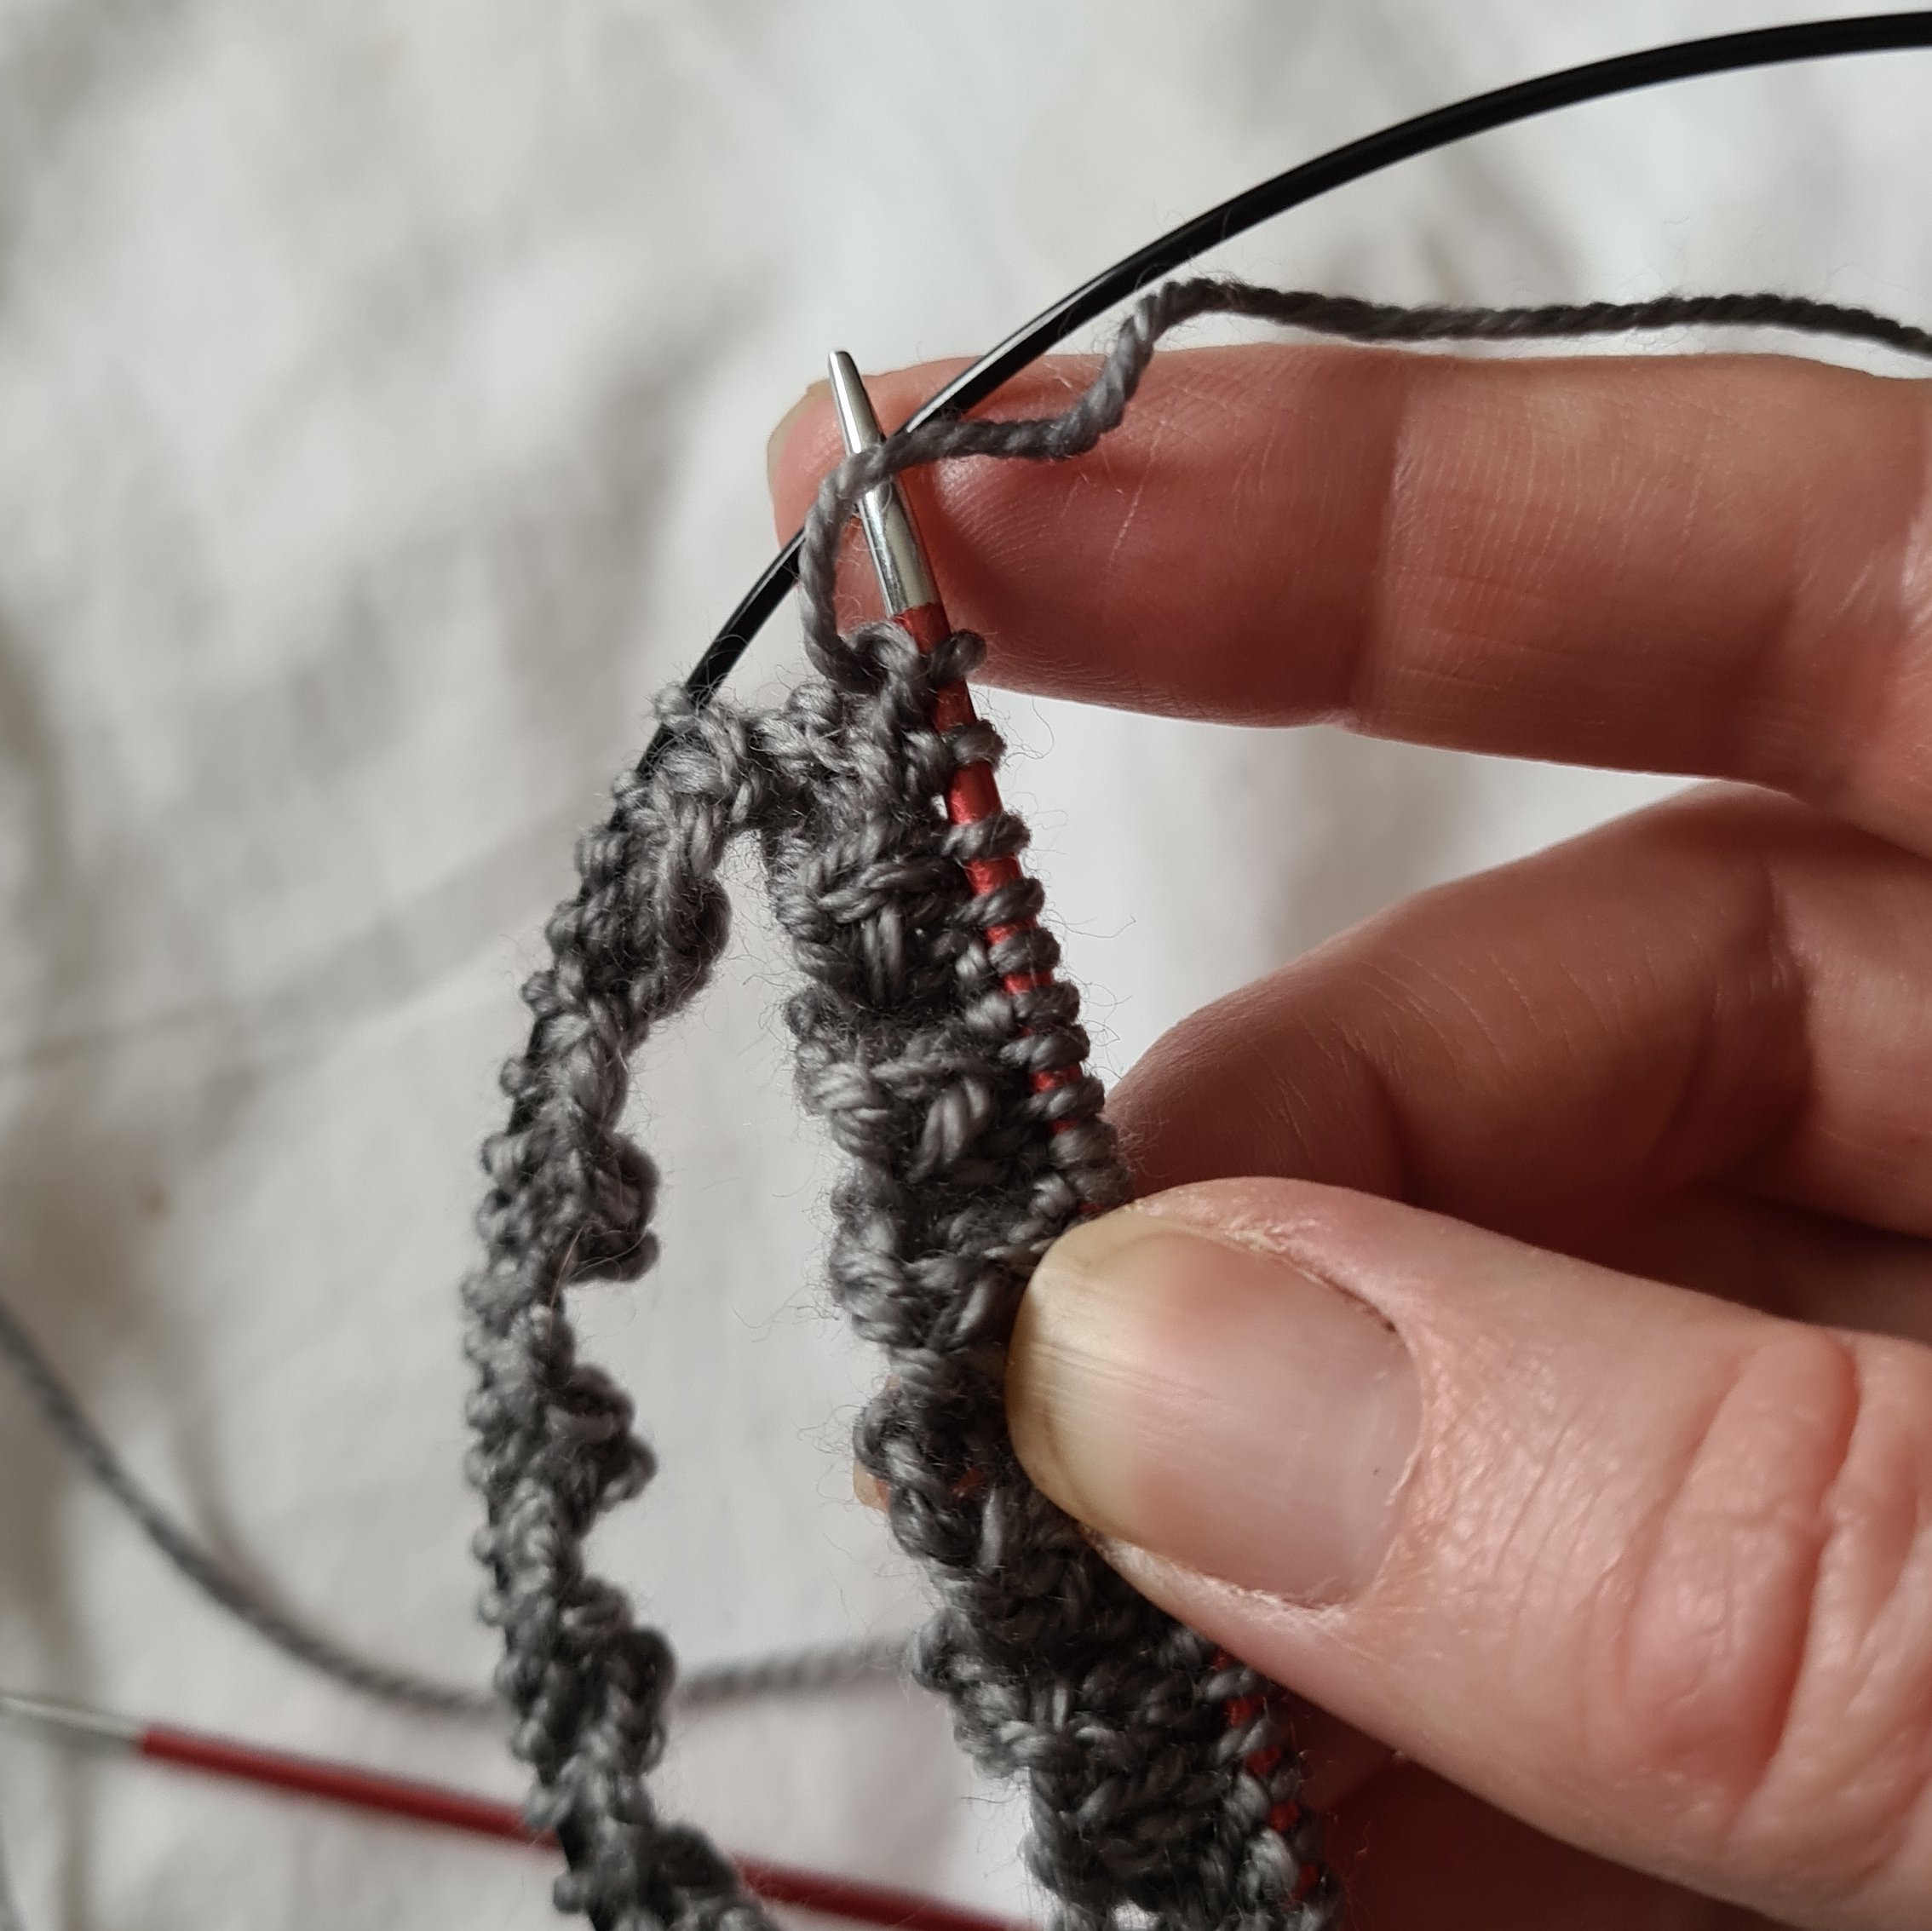
  1. Cast on the required number of stitches - for socks for example - 64..

  2. Work 2 rows of rib (not essential but it makes it easier to join.

  3. Identify the halfway point - 32 sts - and slide stitches onto the cable portion.

  4. Pull the cable through the halfway point to make a long loop. Stop when the two sets of stitches are resting on the needle tips.

  5. Align the stitches with the cast on edge facing inwards and the tips facing away from you.

  6. Hold working yarn in right hand and slide the stitches on the RH needle back down onto the cable.

  7. Insert the now free RH needle tip into the first stitch on the LH needle and work in rib for 32 stitches.

  8. Once you’ve worked these 32 stitches, you’ll have them on the RH needle, with the 2nd set of stitches still on the cable. Slide them back up to the LH needle.

  9. With your right hand, pull the RH needle tip away from you allowing the stitches on the RH needle to slide back onto the cable.

  10. This frees up with RH needle to work across the 2nd set of stitches.

Points to remember: Once you’ve worked across half the stitches always slide both sets of stitches back onto the needle tips. Then you can pull the RH needle out, sliding those stitches safely back onto the cable. This ensures that your stitches stay in two, neat manageable halves. All you are doing is working one half of the stitches, pulling the cable through and then working across the 2nd half.

STEP BY STEP

PIN FOR LATER

Addi Unicorn circular needles: A Review

With the bright pink cable and the shiny, spiral grooved tips these new needles from Addi are hard to miss, so when they crossed my social media feed a few days ago I immediately wanted to snag a set for myself. (This is not a paid advert feature - I bought the needles myself and haven’t been asked to write this).

I was a little sceptical of the claim that the unique spiral tips help to massage the hands while knitting - but that aside I have to say that I really enjoyed using these needles and I’d definitely buy more.

The cable is super flexible with absolutely no memory so it’s great for magic loop projects - my favourite way to knit socks. There’s also no join at all between the cable and the tips, meaning that your stitches slide really easily from tip to cable and back again.

The 100cm cable is a bit long for me - in my enthusiasm to buy I didn’t realise other lengths were available. Next time I’d probably buy the 80cm as that’s my preferred length for magic loop knitting. But honestly, that’s the only thing I didn’t enjoy about knitting with these.

It’s hard to convey how super smooth I found knitting with them, but I filmed a short Reel of me using them which you can see over on my Instagram page.

Heaven knows, I have no shortage of knitting needles, but a sock knitter can always use a few more 2.5mm needles…right?

What is magic loop knitting?

Hoar Frost socks

I used to teach a class on this, and the most common response after I had run through the basics and a short demo was “oh, is that all it is”.

It really is quite straightforward once you understand the principle, but like many things it sounds a lot more complicated than it actually is.

Essentially it is another way of knitting a tube in the round, along with DPNs and small circulars. It’s just another technique - with a slightly fancier name.

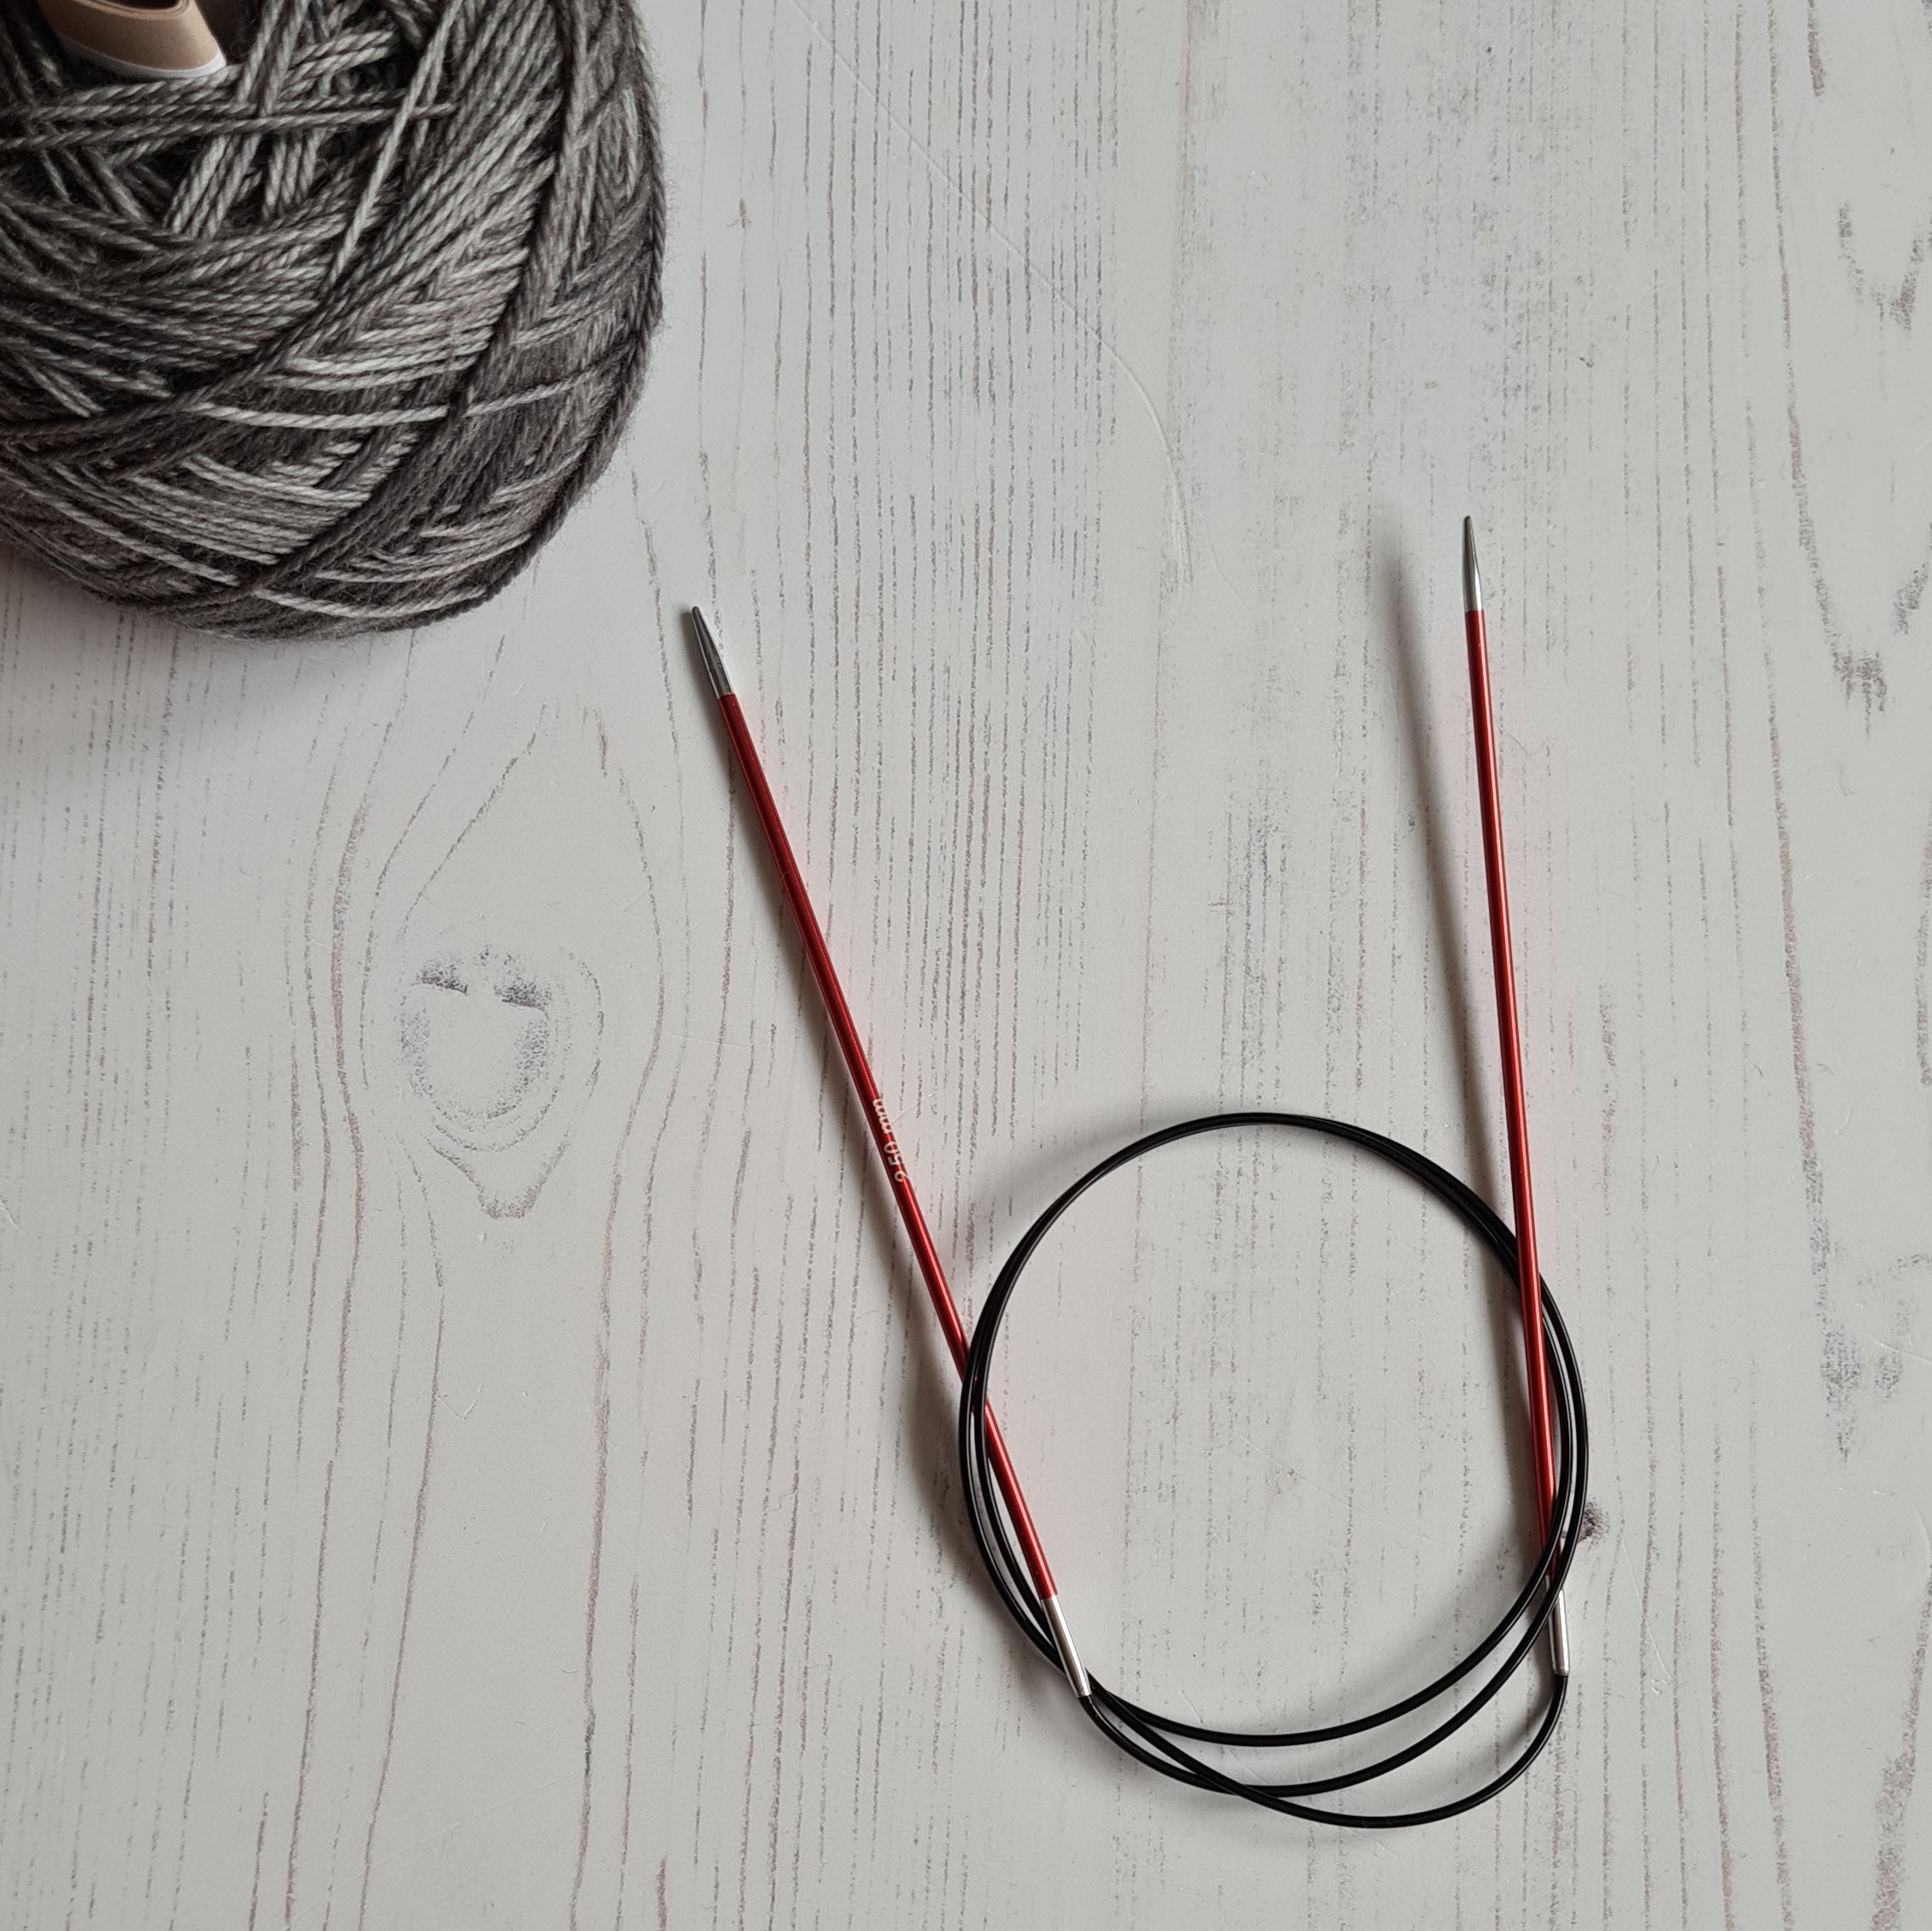
All you need is a circular needle with a long cable. For socks I like to use 2.5mm needles with an 80cm long cable.

It is important that the cable be long enough. 60cm is the bare minimum and personally I find the 100cm cables a bit too long - the extra loops always seem to get in my way.

The only other caveat I would add is that the cable itself needs to be reasonably flexible. Yes, you probably could use that grey plastic one that came free on the front of a magazine once but it is unlikely to be a pleasurable experience.

HOW TO MAGIC LOOP:

  1. Cast on the required number of stitches - for socks for example - 64..

  2. Work 2 rows of rib (not essential but it makes it easier to join.

  3. Identify the halfway point - 32 sts - and slide stitches onto the cable portion.

  4. Pull the cable through the halfway point to make a long loop. Stop when the two sets of stitches are resting on the needle tips.

  5. Align the stitches with the cast on edge facing inwards and the tips facing away from you.

  6. Hold working yarn in right hand and slide the stitches on the RH needle back down onto the cable.

  7. Insert the now free RH needle tip into the first stitch on the LH needle and work in rib for 32 stitches.

  8. Once you’ve worked these 32 stitches, you’ll have them on the RH needle, with the 2nd set of stitches still on the cable. Slide them back up to the LH needle.

  9. With your right hand, pull the RH needle tip away from you allowing the stitches on the RH needle to slide back onto the cable.

  10. This frees up with RH needle to work across the 2nd set of stitches.

Points to remember: Once you’ve worked across half the stitches always slide both sets of stitches back onto the needle tips. Then you can pull the RH needle out, sliding those stitches safely back onto the cable. This ensures that your stitches stay in two, neat manageable halves. All you are doing is working one half of the stitches, pulling the cable through and then working across the 2nd half.

You can use magic loop to knit anything that requires a tube to be knit in the round. It lends itself particularly well to socks especially if they have a pattern as one needle will hold the plain sole/back of leg stitches whilst all the pattern action happens on the other needle. Magic loop can also be used for mitts, hats - I often use it for baby hats when there aren’t enough stitches to stretch around my cable, or indeed sleeves.

The world is your (knitting) oyster.